Crafting is a timeless art that allows individuals to express their creativity and add a personal touch to various items. One of the essential skills in the crafting world is the ability to create beautiful bows, adding a touch of elegance to gifts, decorations, and more.
In this guide, we will walk you through the art of making bows with wired ribbon, providing you with craft design expertise to elevate your creations.
Table of contents
Why Use a Wired Ribbon for a Bow?
Using wired ribbon for a bow offers several advantages that contribute to the overall appearance and functionality of the finished product. Here are some reasons wired ribbon is preferred for making bows:
- Structural Support: Wired ribbon has a thin wire along its edges, providing structural support that helps the bow maintain its shape.
- Flexibility and Manipulation: The wire in the ribbon allows for easy manipulation of the loops.
- Enhanced Fluffiness: The wire enables the loops to stay open and full, creating a more dynamic and visually appealing bow.
- Ease of Adjustment: The flexibility of the wired ribbon makes it easier to adjust and perfect the bow’s appearance.
- Professional Finish: The wired edge of the ribbon contributes to a polished and professional finish.
- Versatility in Design: The wire in the ribbon allows for creative and intricate designs.
- Durability: The added strength from the wire ensures that the bow can withstand handling and environmental conditions without losing its form.
See this: How to Crack Lower Back: Spinal Relief Techniques
What Materials Do I Need?
Below are the materials you need to make a perfect bow with your wired ribbon.
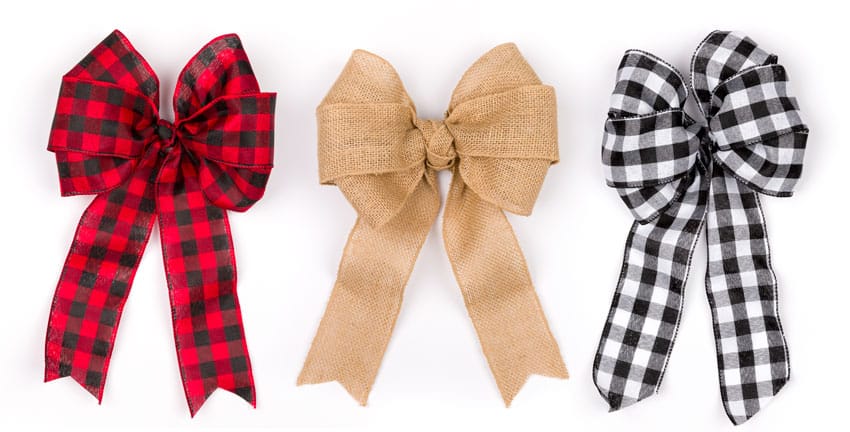
- Wired Ribbon: Choose a wired ribbon for added structure and flexibility. Wired ribbon holds its shape better, making it ideal for crafting bows.
- Scissors: A pair of sharp scissors is essential for precise cutting of the ribbon.
- Wire: Thin craft wire will help secure the bow and give it stability.
- Ruler: A ruler will assist you in measuring and cutting the ribbon to the desired length.
- Work Surface: Set up a clean and flat work surface to ensure a smooth crafting process.
Read: How to Dermaplane at Home: Skincare Routine Innovation
How to Make a Bow with Wired Ribbon
Following our step-by-step guide gives you an excellent result in a beautiful bow. Follow through.
Step 1: Form Bow loops
Start the bow-making process by selecting a spool of ribbon that appeals to your creative vision. Unwind the ribbon from the spool and create the bow by looping it around to form a circle.
The diameter of this circle will serve as a preliminary indicator of your final bow size. To achieve a fuller and more voluminous bow, aim to loop the ribbon around at least three times or more, as this will contribute to a more substantial and aesthetically pleasing end result.
Step 2: Fasten The Bow
Once you’ve completed the desired number of loops or have used the entire length of your ribbon, grasp the center of the loops, ensuring that each side maintains an equal loop size. Use a chenille stem to securely fasten the loops together.
At this stage, you’ll have a bow resembling a flat figure-8. While it may seem unremarkable now, take heart—its vibrancy will come to life in the subsequent step.
Step 3: Fluff The Bow
To enhance the bow’s fullness, gently pull one loop outwards from the center of the bow. Take advantage of the wired ribbon’s malleability to shape the loop into a rounded form.
Subsequently, repeat this procedure on the opposite side by pulling out a loop and molding it into a rounded shape. Continue this process, alternating sides with each pull, until all the loops have been extended and fluffed.
Upon completion, you should have achieved a well-defined and attractive shape—leaving only the addition of the tails to complete your bow.
Step 4: Add The Bow Tails
Now, introduce the second spool of ribbon into the process. Secure a lengthy trail of ribbon around the center of the bow, ensuring complete coverage of the chenille stems to conceal them from view.
Allow the ribbon tails to cascade down to your preferred length. To conclude, neatly trim each end of the ribbon at a diagonal angle. It’s crucial not to leave blunt ends; considering the progress you’ve made, precision in this final step is key.
Step 5: Attach the Bow
Use the excess wire to attach the bow to your project, whether it’s a gift, wreath, or another creative craft.
Another DIY hack you should learn: How to Clean Earrings: Jewelry Care Precision
FAQs
The second spool of ribbon is used to tie around the center of the bow, concealing the chenille stem. It also adds decorative tails to the bow, enhancing its overall appearance.
The size of the bow is influenced by the length of the ribbon loops. The more times you loop the ribbon around, the fuller the bow will be.
Wired ribbon is highly recommended for making bows. It provides structure and flexibility, allowing you to shape and fluff the bow to achieve the desired look.
While regular ribbon can be used, wired ribbon is preferable as it holds its shape better. The wire allows for better manipulation and shaping of the loops.
Conclusion
Mastering the art of making bows with wired ribbon requires practice, creativity, and attention to detail. With the right materials and a passion for crafting, you can elevate your projects and add a touch of sophistication to any occasion. Experiment with different ribbon styles and sizes to discover your unique bow-making style and enjoy the satisfaction of creating beautiful, handcrafted bows.