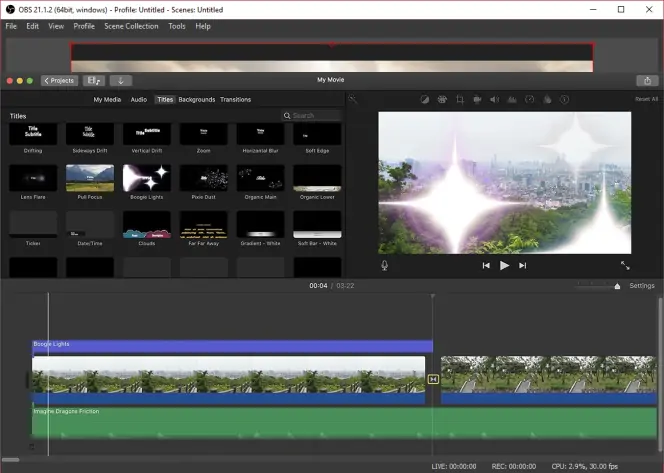
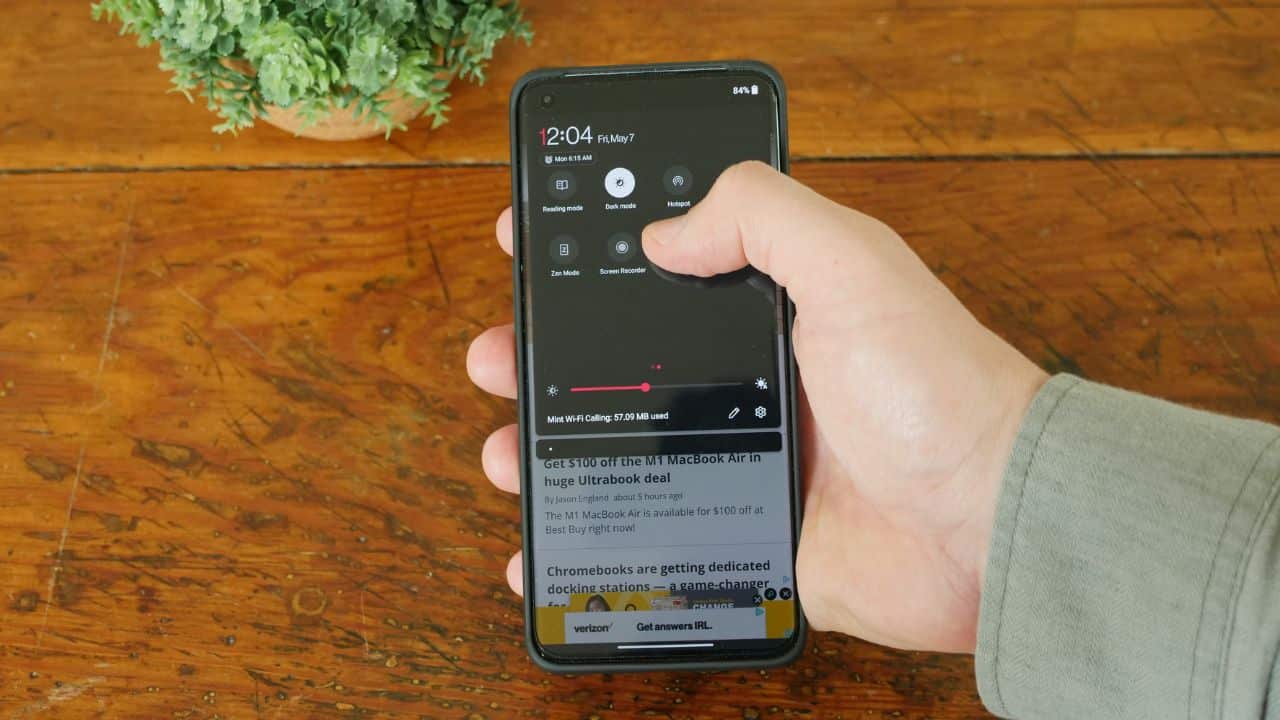
You’ve got a story to tell, a tutorial to share, or maybe just want to capture a moment on your Mac – but how on earth do you record a video?
Don’t worry because we’re here to guide you through the simple steps of recording videos on your Mac. No fancy equipment required, just your trusty computer and a desire to bring your ideas to life.
Let’s dive into the world of Mac video recording and turn those ideas into moving images!
Table of contents
How to Record Video on Mac?
Recording video on your Mac is a straightforward process, and you can use the built-in QuickTime Player for basic recording. Here’s a step-by-step guide:
Recording Video with QuickTime Player:
- Open QuickTime Player
- Locate QuickTime Player on your Mac. You can find it in the “Applications” folder or use Spotlight search (Command + Space and type “QuickTime Player”).
Access the Recording Feature:
- In QuickTime Player, go to the menu bar and select “File.”
Choose New Movie Recording:
- From the drop-down menu, select “New Movie Recording.”
Select Camera and Microphone:
- A recording window will appear. Click the arrow next to the record button to choose your camera and microphone options.
Start Recording:
- Click the red record button to start recording. You can also click the small down arrow next to the record button to adjust settings like video quality.
Stop Recording:
- Once you’ve captured what you need, click the stop button (square icon) to end the recording.
Save Your Recording:
- After stopping the recording, go to “File” and choose “Save” to save your video.
Recording Screen with QuickTime Player:
If you want to record your screen, follow these steps:
- Open QuickTime Player:
- Launch QuickTime Player.
- Access Screen Recording:
- Go to the menu bar and select “File.”
- Choose New Screen Recording.
- From the drop-down menu, select “New Screen Recording.”
- To stop the screen recording, click the stop button in the menu bar.
- Save Your Screen Recording:
After stopping, go to “File” and choose “Save” to save your screen recording.
Check out this related content: How Tall is Trippie Redd? Everything About the Rapper
Can I Record System Audio along with the Video on my Mac?
By default, QuickTime Player does not directly support recording system audio along with the video. However, you can achieve this by using additional software, such as Loopback or Soundflower. These tools allow you to capture the sounds coming from your Mac while recording video. Here’s a general guide on how you might use Loopback for this purpose:
- Download and Install Loopback
- Go to the Loopback website, download the application, and follow the installation instructions.
- Set up Loopback
- Open Loopback and create a virtual audio device. This device will capture system audio.
- Configure QuickTime Player
- Open QuickTime Player and start a new screen recording or movie recording.
- Select Loopback as the Audio Source
- In QuickTime Player, choose Loopback as the audio source. This will allow QuickTime to capture both your microphone (if selected) and system audio.
- Start Recording. Begin recording in QuickTime Player. It will now capture both your screen and system audio.
- Stop Recording and Save
When you’re finished recording, stop the recording in QuickTime Player and save your video. Remember to adjust the audio settings in both Loopback and QuickTime Player to ensure you’re capturing the audio sources you want.
Please note that the steps may vary slightly based on the software versions and configurations. Always refer to the documentation provided by the respective software for more detailed and accurate instructions.
You should read: How Tall is Jack Skellington? All the Facts and Details
Conclusion
Recording videos on your Mac is easier than you think. Whether you’re sharing your screen, capturing your FaceTime adventures, or creating content for your audience, your Mac has the tools you need.
From QuickTime Player to third-party apps, the options are there to turn your ideas into shareable videos. So, get ready to hit that record button and let your creativity shine through your Mac screen!
Frequently Asked Questions
Your Mac comes equipped with a built-in app called QuickTime Player. Open it, go to “File,” and select “New Movie Recording.” You can then choose your camera and start recording right away.
Absolutely! In QuickTime Player, choose “New Screen Recording” instead. You can record your entire screen or just a selected portion. Perfect for tutorials, gaming sessions, or sharing your screen activities.
Yes, there are many third-party apps available, like Camtasia or ScreenFlow, that offer advanced features like editing, annotations, and more. They can be great choices for those looking to elevate their video recording game.
Open QuickTime Player, select “New Movie Recording,” and then choose your FaceTime camera. Click the red record button, and you’re capturing moments with your FaceTime camera.
If you want to record system audio along with your video, you’ll need additional software like Loopback or Soundflower. These tools allow you to capture the sounds coming from your Mac while recording.
References
- geeksonsite.com– how to record video on Mac with quicktime and more.
- support.apple.com– how to record video on mac
- movavi.com– how to record video on mac
Recommendations
- 26 Legitimate Ways to Get a Costco Student Membership for Free
- What Age Do You Graduate High School?
- Which Group is a Primary Supporter of Hunter Education?
- How Tall is Trippie Redd? Everything About the Rapper
- How Tall is Jack Skellington? All the Facts and Details
- How Big is 5 Inches? 6 Items with Accurate Measurement


