Balloons are essential in celebrations and decorations, adding a touch of festivity to any event. Knowing how to tie a balloon properly is essential to keep the fun going without any deflation mishaps.
In this comprehensive guide, we will walk you through the simple steps on “How to Tie a Balloon.” Whether you’re a party planner, a parent preparing for a birthday bash, or just want to impress your friends with your balloon expertise, these tips will make you a pro in no time.
Table of contents
What are the Basics of Balloon Tying
Tying a balloon may seem like a simple task, but there’s more to it than meets the eye. Understanding the basics is crucial to ensure your balloons stay inflated and look fabulous.
Before you start, gather your supplies like balloons, an air pump, and a handy balloon-tying tool if you have one. Having everything ready will make the process smoother.
Step-by-Step on How to Tie a Balloon
Now, let’s dive into the step-by-step process of tying a balloon:
Inflating the Balloon
- Begin by inflating the balloon with the air pump.
- Leave some space at the end to prevent it from bursting.
- Pinch the neck of the balloon to seal the air in.
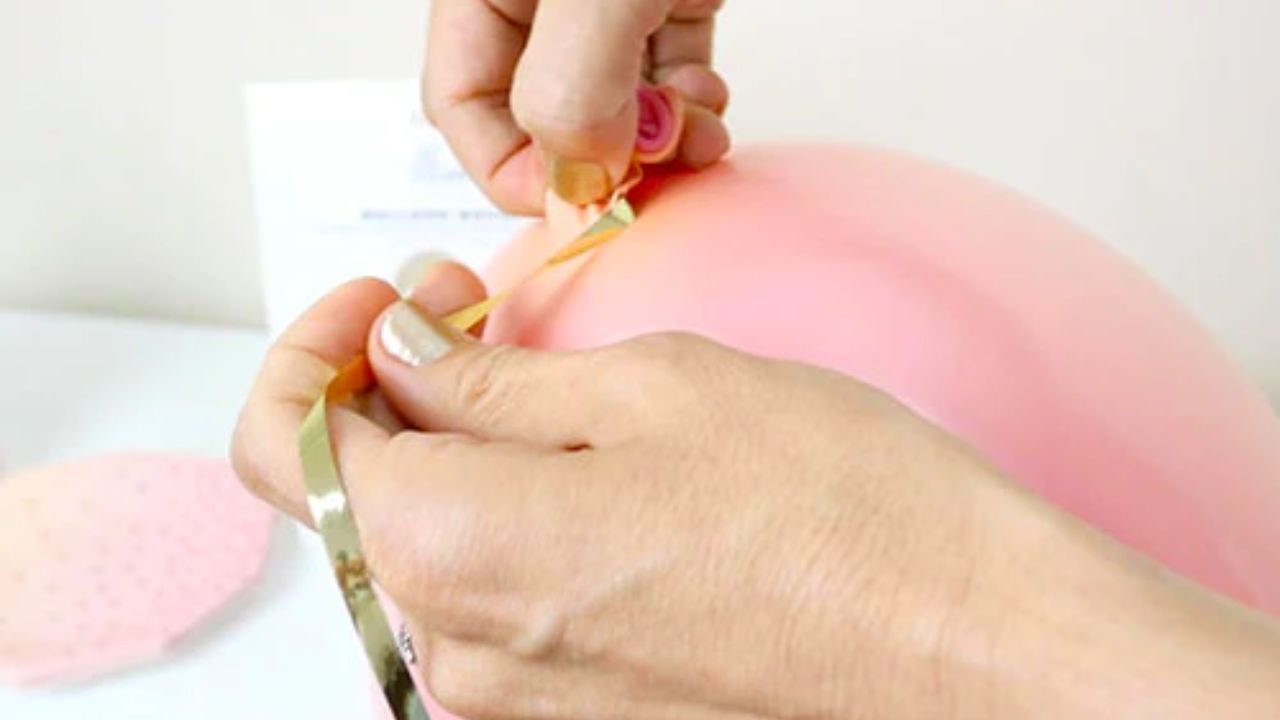
Tying the Knot of the balloon
- Twist the neck a few times to create a secure seal.
- Form a loop with the twisted neck.
- Pull the loop through the gap you create by the twists.
- Gently pull to tighten the knot securely.
Other Ways to Tie a Balloon
1. The Bowtie Twist
To achieve a dapper look with the Bowtie Twist:
- Inflate the balloon and twist it in the middle.
- Create two loops on either side.
- Cross the loops over each other.
- Tuck one loop under the other.
- Pull to secure, resembling a bowtie.
2. The Flower Knot
Add a touch of nature to your decorations with the Flower Knot:
- Inflate the balloon.
- Twist it into multiple small sections, like petals.
- Gather the twisted sections in the center.
- Secure with a knot or ribbon, creating a floral effect.
3. The Spiral Spin
For a mesmerizing twist, try the Spiral Spin:
- Inflate the balloon and twist it into a spiral.
- Secure both ends with a knot.
- Spin the balloon, creating a spiraling effect that looks stunning in various colors.
4. The Heartfelt Knot
Spread love with the Heartfelt Knot:
- Inflate the balloon and shape it into a heart.
- Twist the ends together to form a secure knot.
- Perfect for Valentine’s Day or romantic occasions.
Tips for a Professional Finish to the Balloon
To give your balloons that polished, professional look, consider these tips:
- Consistent Balloon Sizes: Use a template or gauge to ensure all your balloons are the same size.
- Adding Ribbon: Attach colorful ribbons to your balloons for a decorative touch.
- Helium vs. Air: Decide whether you want your balloons to float with helium or stay grounded with regular air.
Common Mistakes to Avoid When Tying a Balloon
Even the most experienced balloon artists make mistakes. Here are some common blunders to steer clear of:
- Overinflation: Avoid overinflating balloons, as they are more likely to burst.
- Untwisting the Knot: Be careful not to untwist the knot while tying, or your balloon may deflate.
- Poor Sealing: Ensure a proper seal to prevent air from escaping.
Frequently Asked Questions
To prevent rapid deflation, tie a tight knot and store your balloons in a cool, dry place away from sharp objects.
While it’s possible to reuse balloons, keep in mind that they may not look as vibrant after the first use.
Transport balloons carefully to prevent damage. Use a balloon bag or container to keep them secure.
Yes, you can, but using a pump makes the process easier and more efficient.
Helium-filled balloons typically last 12-24 hours, so plan your event accordingly.
Dispose of balloons properly by puncturing and recycling them or throwing them in the trash.
Conclusion
Tying balloons might seem like child’s play, but mastering this skill can elevate your party planning game.
Remember the simple steps on how to tie a balloon and your balloons will be the life of the party, staying afloat and vibrant throughout the celebration.