Discovering paint transfer on your car can be a frustrating experience. It often occurs when your car comes into contact with painted surfaces, such as another vehicle, a pole, or a wall. The result is an unsightly mark that can mar your car’s appearance.
But fear not, as there are effective methods for removing paint transfer and restoring your car’s shine.
In this article, we’ll focus on one such technique to remove paint transfer from car using WD-40, a versatile household lubricant. We’ll guide you through the process, providing step-by-step instructions to help you bid farewell to that unwanted paint transfer and regain the luster of your vehicle’s finish.
Table of contents
How to Remove Paint Transfer from Car using WD-40
Removing paint transfer from your car using WD-40 can be a straightforward process if done correctly. Here’s a step-by-step guide to help you achieve the best results:
Materials You’ll Need:
- WD-40
- Clean microfiber cloth
- Car wash soap
- Water
- Sponge
- Car wax (optional)
Step 1: Inspect the Damage
Begin by inspecting the affected area. Ensure that the paint transfer hasn’t damaged your car’s clear coat or paint. If you see any signs of damage, such as deep scratches or bare metal, this method may not be suitable, and you should consult a professional.
Step 2: Test a Small Area
Before proceeding, it’s a good practice to test a small, inconspicuous area of your car’s finish to ensure that WD-40 won’t negatively affect the paint. Spray a little WD-40 on the test area, and gently rub it with a clean cloth. If the paint is unaffected and the cloth doesn’t pick up any paint color, you can proceed.
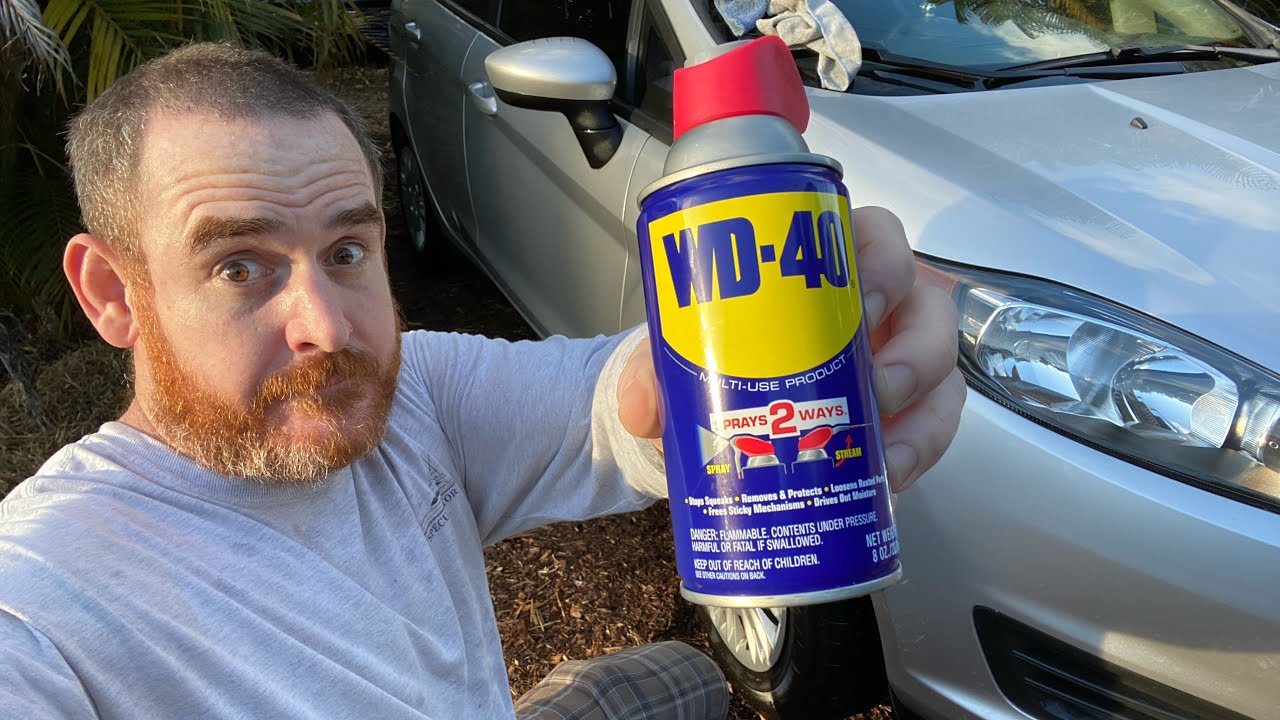
Step 3: Spray WD-40
Shake the can of WD-40 and then spray it directly onto the paint transfer. Ensure the affected area is well-covered but avoid overspraying onto the surrounding paint.
Step 4: Gently Rub with a Cloth
Use a clean microfiber cloth to gently rub the sprayed area. Apply light pressure and use a circular or back-and-forth motion to help break down and remove the paint transfer. You may notice the paint transfer coming off onto the cloth.
Step 5: Wash the Area
After successfully removing the paint transfer, wash the area with car wash soap and water to remove any residue from the WD-40. This will also help ensure that your car’s finish remains clean.
Step 6: Wax (Optional)
If you want to maintain and protect the finish of your car, consider applying a coat of car wax to the treated area. This will help restore shine and protect the paint from future damage. Follow the manufacturer’s instructions for the specific wax product you choose.
Step 7: Inspect and Repeat (If Necessary)
Inspect the area to ensure that all the paint transfer has been successfully removed. If some remains, you can repeat the process, but exercise caution not to overuse WD-40.
Remember to use WD-40 in a well-ventilated area and follow safety precautions listed on the product’s label. Additionally, avoid using excessive force or abrasive materials during the rubbing process to prevent any damage to your car’s finish. With care and patience, you can effectively remove paint transfer from your car using WD-40 and restore its appearance.
See also: How Tall is Jack Skellington? All the Facts and Details
Are there any precautions or potential side effects to consider when using WD-40 on a car’s finish?
When using WD-40 on your car’s finish to remove paint transfer, it’s important to take precautions to ensure the process is safe and doesn’t result in any unintended side effects. Here are some precautions and considerations to keep in mind:
- Test in a Small Area: Before using WD-40 on the affected area, always test it in a small, inconspicuous spot on your car’s finish. This allows you to confirm that WD-40 won’t negatively affect the paint or clear coat. If you notice any adverse reactions, such as paint damage or discoloration, discontinue use immediately.
- Ventilation: Use WD-40 in a well-ventilated area. This will help dissipate fumes and prevent you from inhaling potentially harmful vapors.
- Apply with Caution: Apply WD-40 directly to the paint transfer, but avoid overspraying onto surrounding areas. The focus should be on the affected spot to minimize contact with the rest of your car’s finish.
- Gentle Rubbing: When rubbing the affected area with a clean microfiber cloth, apply light pressure and use gentle, circular or back-and-forth motions. Avoid using excessive force, as this could lead to scratches or paint damage.
- Avoid Sensitive Areas: Be cautious when treating paint transfer near sensitive areas, such as plastic trim or rubber components, as WD-40 may not be suitable for all materials.
- Thorough Washing: After removing the paint transfer with WD-40, thoroughly wash the treated area with car wash soap and water to remove any residue from the solvent. This ensures your car’s finish remains clean.
- Car Wax (Optional): If you choose to apply car wax after the process, follow the manufacturer’s instructions for the specific wax product you use. Applying too much wax or using it improperly can result in undesirable effects.
- Professional Help: If the paint transfer is extensive, if your car’s finish is damaged, or if you’re unsure about how to proceed, consider seeking professional help from an auto body shop or detailing service.
Read also: 26 Legitimate Ways to Get a Costco Student Membership for Free
Conclusion
Removing paint transfer from your car may seem like a daunting task, but with the right approach, it can be relatively simple and effective. WD-40 offers a reliable method for tackling this issue, and by following the step-by-step instructions outlined in this article, you can restore your car’s appearance to its former glory.
Remember to exercise caution, test in a small area, and finish the process with a good wash and wax to preserve the shine and protect your car’s finish for the long term.
Frequently Asked Questions
Paint transfer refers to the situation where paint from another object or vehicle rubs onto the surface of your car. This commonly happens in minor accidents or when your car comes into contact with painted surfaces, like another car’s door.
WD-40 is a versatile and effective solvent that can help break down and remove paint transfer. It’s safe to use on automotive finishes, making it a popular choice for this task.
To use WD-40 to remove paint transfer, you’ll need a can of WD-40, a clean microfiber cloth, car wash soap, water, and a sponge.
The process involves spraying WD-40 on the affected area, gently rubbing with a microfiber cloth, and then washing and waxing the area to protect your car’s finish. Detailed instructions are provided in the article.
References
- toyotavacaville.com– remove paint transfer from car WD-40
- wd40.in– remove paint transfer from car WD-40
- diycreated.com– remove paint transfer from car WD-40