Have you ever contemplated altering your hair color or embracing a completely different appearance? Tape-in hair extensions provide a convenient method for achieving a vibrant and novel look. Nevertheless, it’s important to note that hair extensions are not intended for a permanent attachment to your natural hair. They should be taken off every three to six weeks following the initial application. But the question arises: How can you safely and effectively remove these tape-in extensions?
It’s always best to wait for a professional when dealing with hair extensions. But, if you need a quick fix or just want to save some money on your next hair appointment, removing tape-in extensions yourself is an option provided you have coconut oil.
Keep reading to find out how to remove tape in extensions using coconut oil.
Table of contents
Why You Should Consider Removing Tape In Extensions With Coconut Oil
Tape in hair extensions are highly favored by both hair extension enthusiasts and those in the wholesale industry. Typically, after using tape-in extensions for 6-8 weeks, they require removal. However, there may be instances where these extensions start to detach prematurely. In such cases, if you don’t have adhesive remover on hand, you can turn to alternatives like hair conditioner, coconut oil, and even peanut butter to come to your rescue.
Using coconut oil is an excellent choice for safely removing tape-in hair extensions, as it consists of 100% natural ingredients that won’t harm the extensions or your real hair. Moreover, coconut oil has the added benefit of enhancing the strength and health of the adhered hair. Given its rich nutrient content for hair, it’s a common choice for maintaining natural hair.
It’s essential to note that the adhesive used for tape-in extensions differs significantly from that of keratin hair extensions (such as tip or fusion extensions). Therefore, it’s crucial not to substitute a keratin bond remover for a tape-in extension remover when handling this process at home.
SEE ALSO: How to Clean a Hairbrush: Maintaining Your Hair Care Tools for Longevity
How To Remove Your Hair Extensions At Home Using Coconut Oil
Here are a few tips on how to remove your hair extensions at home using coconut oil:
Step 1: Wash your hair
Wash your hair with a clarifying shampoo and conditioner to remove any residue. This is one of the crucial steps that you should not skip when removing your hair extensions. This also ensures that any type of hair product is completely removed from your hair, thus eliminating and decreasing the chances of possible irritations or chemical reactions from the use of oils or adhesive hair extension removal products.
SEE ALSO: How to Remove Slime from Hair
Step 2: Apply Coconut Oil
To help the softening of extensions and avoid the adhesive residue from tape-in hair extensions adhering to the tips of your hair, you can apply either coconut oil or olive oil. This step is crucial in eliminating these residues to prevent potential scalp issues down the line.
If you don’t have oil or extension adhesive remover readily accessible, you can also make use of nail polish remover that is free of acetone to loosen the tape on your hair extensions. Apply a few drops of this product along the side of the tape bonds, and you’ll notice the tape beginning to separate from your hair after a few minutes. Once this happens, gently initiate the peeling process, starting from the edge. If it proves to be difficult to peel off, you can add more polish remover as needed.
Step 3: Brush the extensions
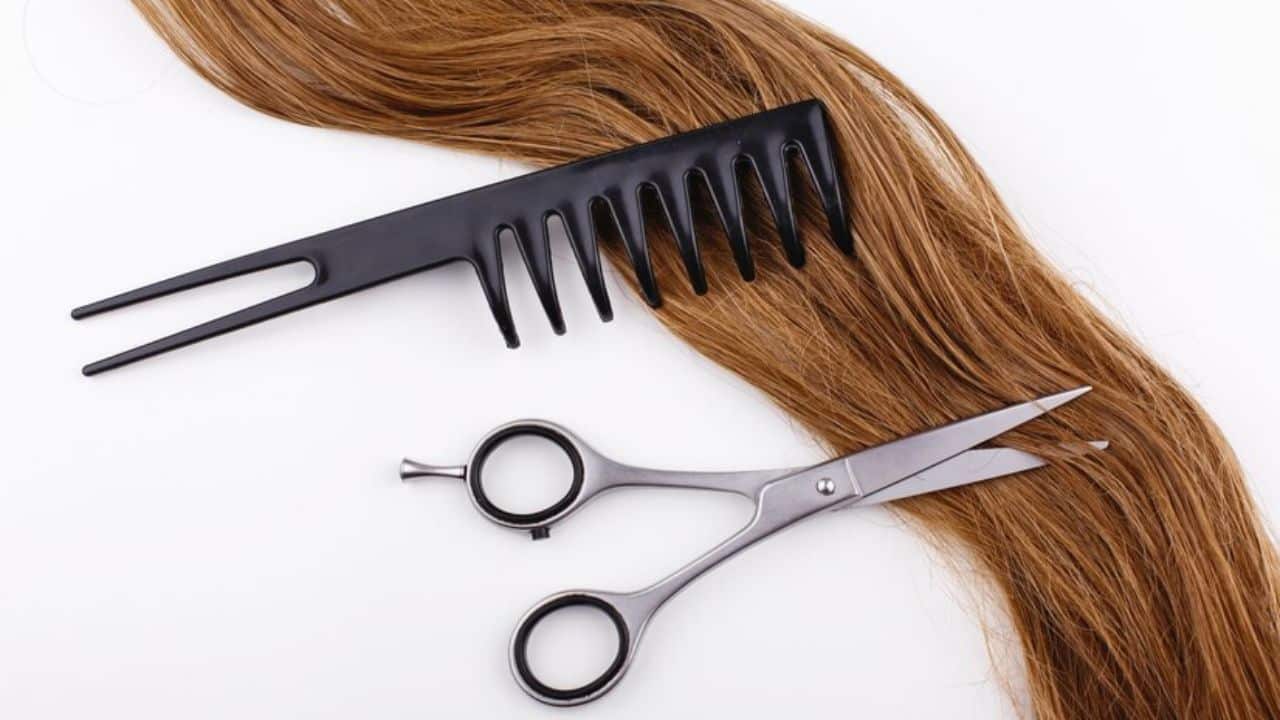
Detangle the extensions by employing a wide-tooth comb, commencing from the lower part of your head and progressing upwards. It’s advisable to apply gentle, unidirectional tension during this process. If you have short hair, the optimal approach is to swiftly remove the extensions. However, if you have naturally long hair, it’s essential to go through the combing procedure to avoid harming your hair.
In case you find it challenging to completely detach the extensions with your fingers, you can also make use of an old toothbrush or the handle of a makeup brush as an alternative tool.
READ ALSO: Is Herbal Essences Bad for Your Hair?
Step 4: Pull the extensions
Carefully pull at one end of the extension until it releases – repeat this action across your head until all your hair is liberated from the tape-in extensions. Be patient during this procedure, particularly if you have naturally long hair. This approach helps protect your hair from harm and prevents the extension bonds from breaking.
Step 5: Take off the adhesive
Once you’ve taken the wefts out of your hair, take a small piece of paper towel to wipe away the adhesive from the upper part of the weft. This technique facilitates the transfer of the adhesive residue from the hair remover onto the paper towel, sparing your fingers from becoming sticky. This not only prevents your fingers from feeling tacky but also simplifies the cleanup process. If you still sense a considerable amount of stickiness on your locks, feel free to apply additional oil or adhesive hair remover as necessary.
Step 6: Wash your scalp
Cleanse your scalp thoroughly with a gentle shampoo to wash away any remaining oils that may have clogged pores or caused irritation during removal. The process also ensures that any sticky leftover from the tape in hair extensions is removed.
RELATED POST: How to Remove Toner from Hair
How To Take Care Of Your Hair After Removing Tape In Extensions With Coconut Oil
Using coconut oil to remove tape-in extensions poses no threat to your natural hair. Nonetheless, it’s important to continue maintaining your natural hair properly after the removal process is completed.
- Utilize more products to fortify your hair. After 6-8 weeks of tape-in extension use, this type of hair extension tends to put a strain on your hair, weakening the roots. It’s advisable to promptly employ products such as hair conditioner, leave-in treatments, or hair oils immediately after the removal of tape-in extensions using coconut oil.
- Comb your hair gently with a wide toothcomb. This will help your natural hair minimize hair loss.
- Do not apply new hair extensions immediately after removing tape-in extensions with coconut oil. Give your hair 1-2 weeks to recover and strengthen. In the meantime, if you need to use extensions, use hair types that are easy to apply and remove like halo hair extensions or wigs.
- You may consider reusing tape in extensions after removal. If you buy high-quality printed tape hair extensions from reputable human hair factories, you can completely reuse them.
FAQs On How To Remove Tape In Extensions with Coconut Oil
Tape-in hair extensions are a type of semi-permanent hair extension method where wefts of hair are taped or glued to your natural hair. They offer a natural look and are less damaging than some other methods.
Coconut oil is a popular choice for removing tape-in extensions because it helps dissolve the adhesive used in the installation process. It’s a natural and gentle method that minimizes damage to your hair.
Begin by applying a generous amount of coconut oil to the tape bonds. Make sure the oil saturates the area thoroughly. This will help soften the adhesive, making it easier to remove the extensions.
It’s recommended to let the coconut oil sit on the tape-in extensions for at least 30 minutes, allowing it to work its magic in loosening the adhesive. Some people leave it on for a few hours or even overnight for the best results.
Conclusion
Removing tape-in extensions with coconut oil shouldn’t pose a significant challenge. It is, in fact, one of the simplest methods for self-removal of tape-in extensions at home.
References
- 5shair.com – Easy-to-do: Removing tape in extensions with coconut oil
- aashibeauty.com – Tips for Easy Tape in Hair Extension Removal at Home


