In the pursuit of luminous skin, many are turning to the innovative practice of dermaplaning at home. This transformative skincare technique promises not only a radiant complexion but also a spa-like experience in the comfort of your own home.
If you’ve been curious about how to incorporate this method into your skincare routine, this guide is your road map to flawless, glowing skin by knowing how to dermaplane at home.
Table of contents
What is Dermaplaning?
Before delving into the steps of DIY dermaplaning, let’s discuss the process. Dermaplaning is a cosmetic procedure that involves the use of a sterile surgical scalpel to gently scrape the surface of the skin, removing the outermost layer of dead skin cells and fine vellus hair, commonly known as peach fuzz.
This process is often performed by licensed skin care professionals, such as dermatologists or estheticians, in a controlled and precise manner.
Furthermore, the primary goals of dermaplaning include exfoliating the skin, promoting a smoother and brighter complexion, and enhancing the penetration of skincare products.
It’s essential to note that dermaplaning is a non-invasive procedure that doesn’t involve the use of chemicals or harsh substances. However, it is not recommended for individuals with certain skin conditions, such as active acne or sensitive skin, as it may cause irritation.
Before undergoing dermaplaning, it’s advisable to consult with a qualified skincare professional to determine if it’s a suitable option for your specific skin type and concerns.
Read this: How to Uncrease Shoes: Footwear Care for Aesthetic Maintenance
The Essential Tools
Before you start, make sure you have the following key tools below:
- Dermaplaning Tool: You can purchase a dermaplaning tool specifically designed for at-home use. These tools usually have a single, sharp blade.
- Cleanser: Use a gentle cleanser to clean your face and remove any makeup or impurities.
- Toner: A toner can help prepare your skin for dermaplaning by removing any remaining debris.
- Mirror: Position yourself in front of a well-lit mirror to ensure you can see what you’re doing clearly.
- Moisturizer: Have a hydrating moisturizer on hand to apply after dermaplaning.
Step-by-Step Guide on How to Dermaplane at Home
- Cleanse Your Face: Start by cleansing your face to remove any makeup, dirt, or oil. Pat your skin dry with a clean towel.
- Apply Toner: Apply a toner to your face to remove any remaining impurities and to balance your skin’s pH levels.
- Stretch Your Skin: Use your free hand to stretch your skin taut. This helps the dermaplaning tool glide smoothly across the surface, ensuring better results.
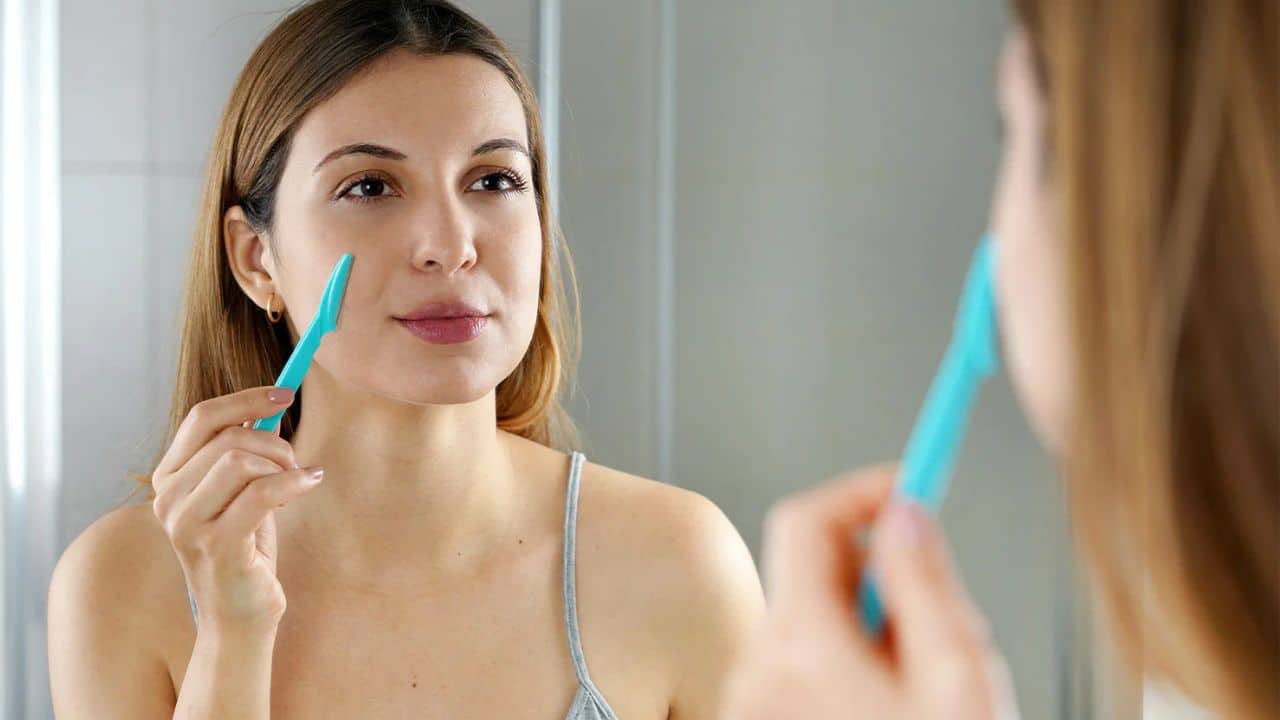
- Begin Dermaplaning: Hold the dermaplaning tool at a 45-degree angle and, using short, gentle strokes, move the blade across your skin. Always move the blade in the direction of hair growth.
- Take Your Time: Take your time and be gentle. Don’t apply too much pressure, as the goal is to remove dead skin cells and fine hair without causing irritation.
- Avoid Sensitive Areas: Avoid dermaplaning over areas with active acne, as it can exacerbate the condition. Also, steer clear of your eyebrows and eyelashes.
- Rinse and Moisturize: Once you’ve finished dermaplaning, rinse your face with cool water and pat it dry. Apply a hydrating moisturizer to soothe the skin.
- Clean Your Dermaplaning Tool: After each use, clean your dermaplaning tool according to the manufacturer’s instructions to maintain hygiene.
- Frequency: Dermaplaning can be done every 3-4 weeks, depending on your skin’s sensitivity and the rate of hair growth.
Also, read this: How to Remove Slime From Clothing
Tips and Precautions:
- If you have active skin conditions or concerns, consult with a dermatologist before dermaplaning.
- Avoid sun exposure immediately after dermaplaning and use sunscreen to protect your skin.
- Replace the dermaplaning blade as recommended by the manufacturer.
- Emphasize cleanliness and avoid excessive pressure. Ensure your hands and tools are clean to minimize the risk of infection.
- Steer clear of dermaplaning over active acne, and never share your tools. Disinfect the blades after each use.
The Benefits: Why Dermaplaning at Home?
- Smoother Complexion: Dermaplaning unveils a smoother canvas by eliminating dead skin cells and peach fuzz, leaving you with a velvety, touchable complexion.
- Enhanced Product Absorption: By removing the barrier of dead skin, your skincare products can penetrate more deeply, maximizing their effectiveness and you will create a flawless canvas for makeup application.
- DIY Spa Experience: Transform your skincare routine into a spa-like indulgence with the therapeutic and satisfying practice of at-home dermaplaning.
Also, check this: How to Pass a Mouth Swab Drug Test: Strategic Methods for Clear Results
FAQs about Dermaplaning
Dermaplaning is generally safe for most skin types, but consult with a dermatologist if you have specific concerns.
Aim for every 3-4 weeks to allow your skin to recover fully.
When done correctly, dermaplaning should not be painful, but it’s essential to be gentle.
Yes, but exercise caution and adjust pressure accordingly.
Avoid dermaplaning directly over active acne to prevent irritation.
Long-term benefits include improved skin texture, reduced fine lines, and enhanced product absorption.
Conclusion
In embracing “How to Dermaplane at Home,” you embark on a journey to radiant skin. Dermaplaning, when executed mindfully, is a game-changer for achieving a luminous complexion. Take the plunge into this transformative skincare ritual and relish the rewards it bestows upon your skin.
References
Recommendations
- How To Share Screen On FaceTime: Revolutionary Guide To Enhanced Communication
- How Do I Use Symmetrical Face Filter on Tiktok?
- Why am I Getting so Many Friend Requests on Facebook?
- How to Remove Temporary Tattoos: Skin Care Method
- How to Glow Up Effectively: A Comprehensive Guide to Self-Improvement