How to draw a butterfly is a skill that can be learned and mastered by artists of all levels. You might be surprised to know that these magnificent insects have been inspiring artists for centuries.
In this article, we’ll guide you on how to draw a butterfly on paper. So, let’s spread our creative wings and embark on this artistic journey.
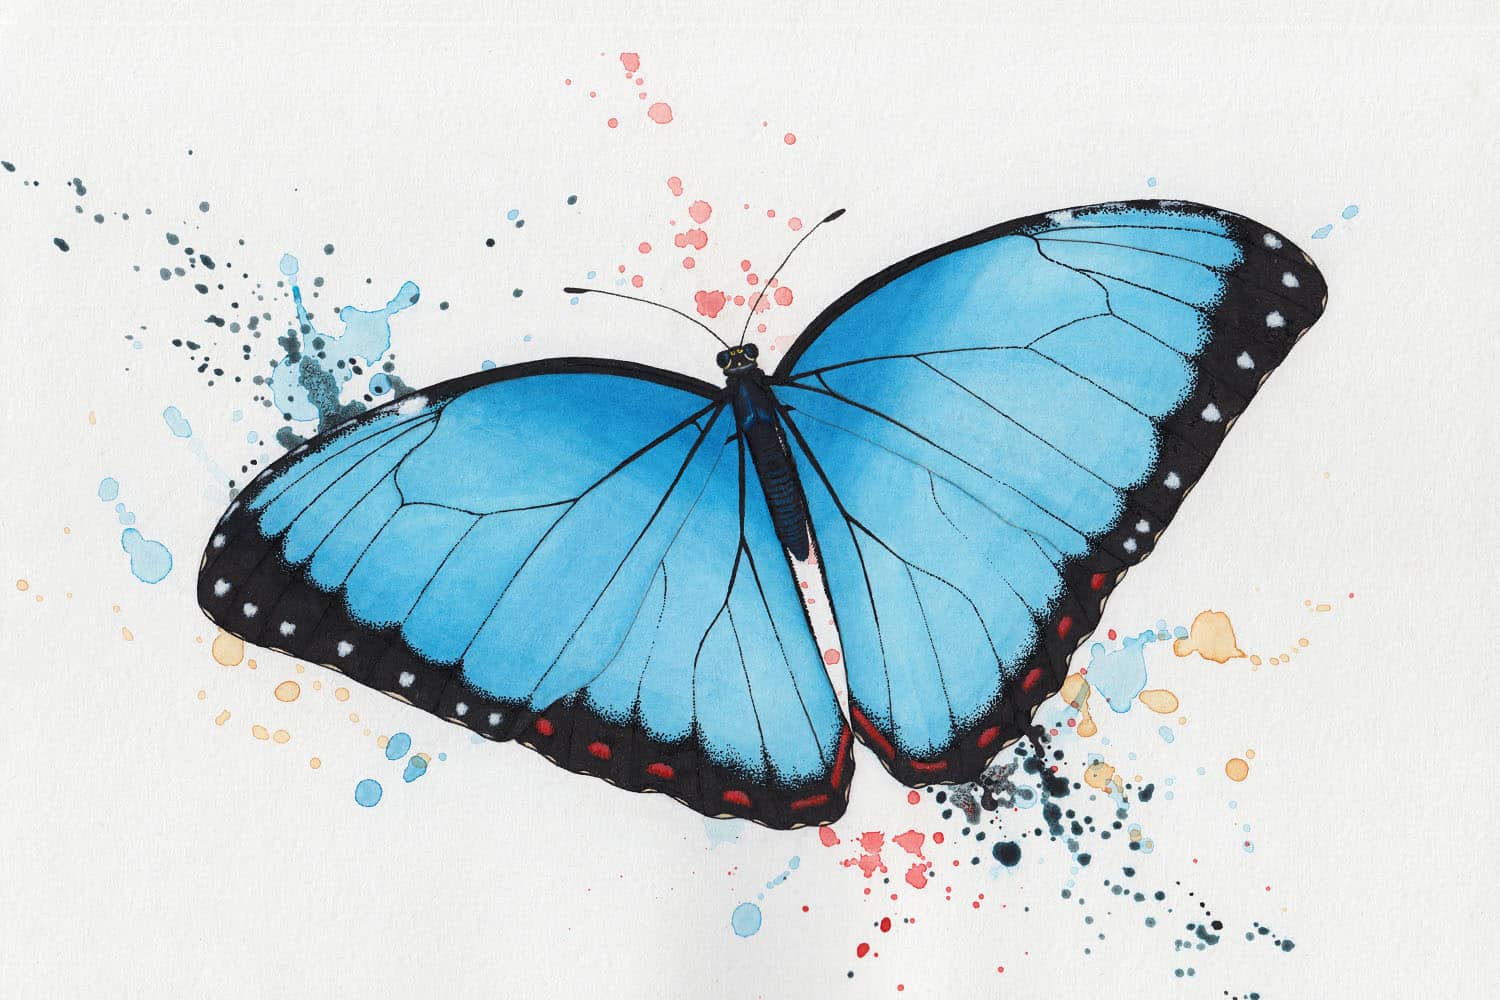
Table of contents
- What Supplies You’ll Need to Draw a Butterfly
- How to Draw a Butterfly in 10 Steps
- Step 1: Draw a Straight Line
- Step 2: Draw a Circle for the Butterfly’s Head
- Step 3: Draw the Outline of the Body
- Step 4: Draw the Eyes and the Antennae
- Step 5: Mark the Starting Point of the Wings
- Step 6: Place the Wings
- Step 7: Outline the Wings
- Step 8: Draw the Markings on the Wings
- Step 9: Transfer Your Butterfly
- Step 10: Finalize Your Butterfly Drawing
- FAQs
- Conclusion
- References
- Recommendations
What Supplies You’ll Need to Draw a Butterfly
To embark on your artistic journey of drawing a butterfly, you’ll need some basic supplies.
Firstly, gather a sketchbook, pencils, erasers, and sharpeners. These are the fundamental tools every artist should have.
Next, consider adding colored pencils or watercolors for a vibrant touch. Additionally, invest in some fine-tip markers for intricate details.
Furthermore, a comfortable workspace with good lighting is crucial. Moreover, having visual references, like butterfly pictures or illustrations, can be incredibly helpful. Besides that, a magnifying glass could assist you in capturing intricate patterns.
In essence, with these simple supplies at your disposal, you’re well-prepared to begin your journey into the world of butterfly art.
See also: How to Draw Stitch: Bringing Lilo’s Alien Friend to Life on Paper
How to Draw a Butterfly in 10 Steps
Follow the steps below to draw a butterfly.
Step 1: Draw a Straight Line
To kickstart your butterfly drawing, begin by drawing a simple straight line. This line serves as the backbone of your butterfly’s form.
Ensure it’s not overly lengthy; a short, central line will suffice to maintain balance. This foundational line sets the stage for the remaining steps in creating your beautiful butterfly illustration.
Step 2: Draw a Circle for the Butterfly’s Head
Moving on to the second step, introduce a circle to represent the butterfly’s head. This circular form marks the initiation of your butterfly’s body structure.
Next, connect it seamlessly to the previously drawn straight line, ensuring a harmonious flow in your drawing. This head is the starting point for building the intricate details of your butterfly illustration.
See also: How to Draw a Fairy Easy | Simple Guidelines to Initiate
Step 3: Draw the Outline of the Body
Now, gently sketch the outline of the butterfly’s body. This curving outline connects the circular head to the central line you’ve drawn, creating a smooth and elegant transition.
This step lays the foundation for the graceful form of your butterfly, ensuring that it begins to take shape with a harmonious flow.
Step 4: Draw the Eyes and the Antennae
Now, in the fourth step, focus on the butterfly’s facial features. Begin by adding small, round shapes to form the eyes on the head.
Next, extend two slender lines upward from the head to create the delicate antennae. These details bring your butterfly to life, giving it its characteristic charm and personality.
See also: How to Remove Acrylic Nails With Hot Water
Step 5: Mark the Starting Point of the Wings
Place small dots on the upper part of the butterfly’s body. These dots serve as markers to indicate the starting points for the wings.
This preparatory step is essential for creating a symmetrical and well-proportioned butterfly illustration, ensuring that your wings align perfectly with the body.
Step 6: Place the Wings
Moving to the next step, position the butterfly’s wings. Create one wing on each side of the body, extending outward from the marked starting points.
This step defines the wings’ orientation and provides the structure for your butterfly, setting the stage for the upcoming details in your drawing.
See also: How Long Does LASIK Last | Everything You Should Know
Step 7: Outline the Wings
Now, take a moment to outline the wings with graceful, curved lines. These lines define the shape and contours of the wings, ensuring they have the elegant and distinctive appearance that characterizes a butterfly.
Step 8: Draw the Markings on the Wings
Now, focus on adding intricate patterns and markings to the wings in this step. Utilize simple shapes and lines to create unique designs. This step allows you to bring your butterfly to life, giving it the visual appeal and personality that make it truly special.
See also: How to Remove Dry Erase Marker from Clothes
Step 9: Transfer Your Butterfly
Here, it’s time to transfer your butterfly drawing onto a clean sheet of paper. This is a pivotal move, ensuring that your artwork has a polished look.
By replicating your initial sketch with care, you can refine your butterfly’s form and details for a professional finish.
Step 10: Finalize Your Butterfly Drawing
Now, give your butterfly drawing the attention it deserves. Refine all the details, ensuring that your lines are clean and your design is well-executed.
Also, add colors if desired, and make any necessary adjustments to guarantee that your butterfly illustration is complete, vibrant, and ready to be proudly showcased.
See also: How to Mirror iPhone to TV: A Guide for Seamless Connectivity
FAQs
You’ll need paper, pencils, erasers, and optional coloring tools.
Yes, the steps are beginner-friendly and easy to follow.
It varies but can typically be done in under an hour.
Conclusion
Mastering the art of drawing a butterfly, guided by these ten simple steps, allows you to create a beautiful and captivating illustration.
Whether you’re a novice or an experienced artist, these foundational techniques make butterfly drawing an enjoyable and rewarding endeavor.
References
- Skillshare.com – This is How to Draw a Butterfly in 10 Steps
- Wikihow.com – How to Draw a Butterfly