This piece is a perfect guide if you’re learning how to draw a palm tree. In this guide, it doesn’t matter if you’re an amateur or an artist, we’ll go through a step by step process of drawing the perfect palm tree.
Table of contents
Materials For Drawing A Palm Tree
To bring your palm tree vision to life, gather these essential drawing materials:
- Sketchpad or Drawing Paper: Choose a quality surface that complements your preferred drawing medium.
- Pencils: Have a range of pencils, from 2H for light outlines to 6B for darker shading.
- Eraser: Opt for a soft eraser to correct mistakes without damaging the paper.
- Fine Liner or Pen: Use for adding intricate details and defining the outlines of the palm fronds.
- Colored Pencils or Markers: Add a splash of vibrant green to your palm tree leaves or enhance the background.
- Blending Stump or Tortillon: Achieve smooth transitions and shading by blending pencil strokes.
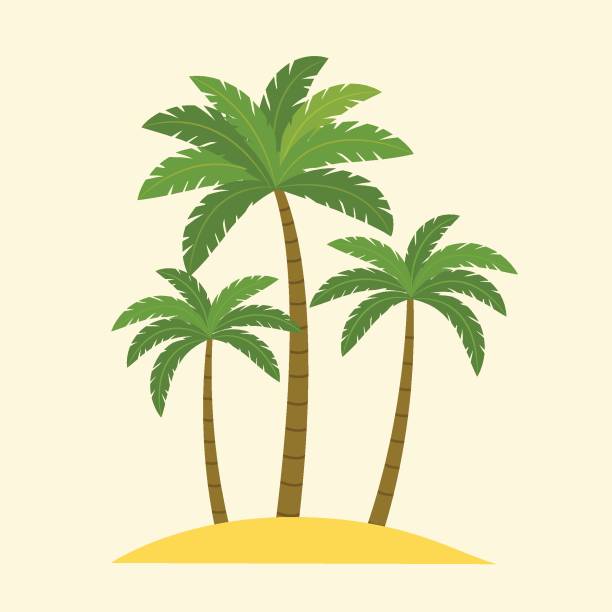
- Reference Image: Find a photo or illustration of a palm tree for inspiration and accuracy.
Tips For Drawing A Palm Tree
- Start with Basic Shapes: Begin by sketching the trunk using simple shapes like cylinders. Outline the basic form of the palm fronds with elongated ovals or triangles.
- Capture the Curve: Palm trees often have a graceful curve. Pay attention to the natural curvature of the trunk and branches to create a more authentic representation.
- Branching Out: Draw the fronds in clusters, radiating from the top of the trunk. Vary the length and angle of each frond to add visual interest.
- Texture Matters: Add texture to the trunk by incorporating subtle lines or hatching. For fronds, consider using short, curved lines to suggest the leaf structure.
- Detail the Fronds: Palm leaves have distinct segments. Sketch these segments with gentle curves, giving attention to the jagged edges.
- Shading for Dimension: Use shading to give depth to your drawing. Darken areas where shadows naturally fall, such as underneath fronds or along the trunk.
- Play with Perspective: Experiment with different perspectives. Drawing a palm tree from below or above can create dynamic and visually engaging compositions.
- Reference Nature: Observe real palm trees or refer to images for inspiration. Pay attention to details like the arrangement of fronds and the unique features of different palm species.
How To Draw A Palm Tree
Follow these step-by-step instructions to draw a palm tree:
- Draw the Trunk:
Begin by sketching a vertical line for the trunk. Add a slight curve to mimic the natural shape of a palm tree.
- Create the Frond Guidelines:
Extend lines outward from the top of the trunk, forming a basic framework for the palm fronds. Vary the length and angles for a more realistic look.
- Outline the Fronds:
Add curved lines along the guideline to define the individual fronds. Palm fronds often have a feather-like appearance, so incorporate jagged edges.
- Detail the Fronds:
Divide each frond into segments by drawing gentle curves. This adds texture and realism to the leaves.
- Add Texture to the Trunk:
Draw lines or hatching along the trunk to give it a textured appearance. Consider adding knots or bumps for extra detail.
- Refine the Outline:
Go over the initial lines with darker strokes, refining the outline of the trunk and fronds. This helps define the structure and shape of the palm tree.
- Shade for Depth:
Use shading to add dimension. Darken areas where shadows naturally fall, such as beneath the fronds or on one side of the trunk.
- Finalize Details:
Fine-tune your drawing by adding any additional details, such as smaller branches or background elements.
- Optional: Color Your Drawing:
If you’re using colored pencils or markers, add shades of green to the fronds. Consider blending different hues to create a vibrant and realistic look.
- Review and Adjust:
Step back and review your drawing. Make any necessary adjustments to ensure a balanced and visually appealing representation of a palm tree.
Frequently Asked Questions
While reference images enhance accuracy, you can use your imagination. However, studying real palm trees will help you understand their unique features and improve your drawing.
Pay attention to the natural curve of palm fronds and their segmented structure. Add jagged edges and use varying line thickness to create a realistic, feather-like appearance.
Practice sketching basic shapes and proportions separately. Experiment with different trunk and frond sizes until you find a balance that works for your drawing.
Should I use color in my palm tree drawing?
Adding color can enhance your drawing. Experiment with shades of green for the fronds and browns for the trunk. Blend colors to achieve a more vibrant and lifelike representation.
How long does it take to draw a palm tree?
The time varies based on your skill level and the level of detail you want.
Conclusions
When learning how to draw a palm tree, each stroke contributes to your unique artistic journey. This guide has covered how you can easily draw the perfect palm tree.
References
- youtube.com – How To Draw Tropical Palm Tree for Beginners
- helloartsy.com – How to Draw a Palm Tree
- artprojectsforkids.org – Easy How to Draw a Palm Tree Tutorial and Palm Tree Coloring Page