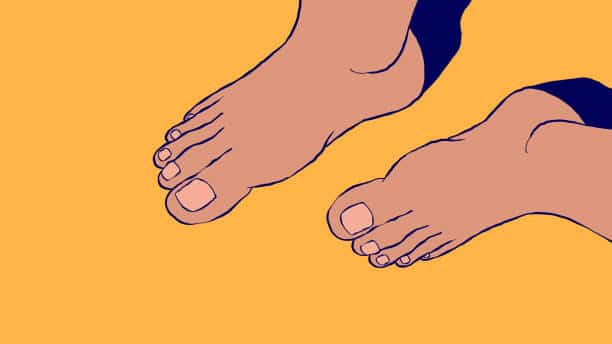
Drawing feet can be a challenge, but with some basic knowledge of anatomy and practice, it can become a skill that you can master. In this article, we will go over some tips and tricks on how to draw feet, as well as the anatomical structures that make them up.
Table of contents
How to Draw a Feet
Anatomy of the Foot
The foot is made up of 26 bones, 33 joints, and over 100 muscles, tendons, and ligaments. The three main regions of the foot are the hindfoot, midfoot, and forefoot.
The hind foot consists of the heel bone, or calcaneus, and the ankle bone, or talus. The midfoot is made up of five bones that form the arch of the foot. The forefoot includes the toes and the five long bones, or metatarsals, that connect the toes to the midfoot.
Tips for Drawing Feet
Now that we have a basic understanding of the anatomy of the foot, let’s move on to some tips for drawing them.
1. Start with Basic Shapes
When starting a foot drawing, it’s helpful to begin with basic shapes. Draw a rectangle for the heel, a triangle for the ankle, and a circle for the ball of the foot. This will help you to establish the basic proportions of the foot before adding in the details.
2. Pay Attention to Proportions
Proportions are critical when it comes to drawing feet. The length of the toes should be approximately half the length of the foot. The ball of the foot should be slightly wider than the heel, and the arch should be prominent but not too exaggerated.
3. Observe Your Own Feet
A great way to improve your foot drawing skills is to observe your own feet. Take some time to study the shape, proportions, and details of your own feet. This will help you to understand the anatomy and movement of the foot better.
4. Use Reference Images
Using reference images can be helpful when drawing feet, especially if you’re struggling with a particular angle or position. Look for photographs or drawings of feet from different angles and use them as a reference when drawing.
5. Practice, Practice, Practice
Drawing feet takes practice, so don’t get discouraged if your first attempts don’t turn out as well as you’d like. Keep practicing and experimenting with different techniques until you find what works best for you.
Drawing Techniques
Now let’s move on to some specific drawing techniques for different parts of the foot.
1. Heel
To draw the heel, start with a rectangle shape and add in the details. The heel bone should be prominent, and the Achilles tendon should be visible. The sides of the heel should curve inward towards the ankle.
2. Ankle
The ankle is a triangular shape that sits above the heel. The bones of the ankle should be visible, and the ankle should have a slight curve to it.
3. Midfoot
The midfoot is where the arch of the foot is located. Draw a curve for the arch and add in the five bones that make up the arch. The top of the foot should have a slight curve to it, and the sides of the foot should taper in towards the toes.
4. Toes
To draw the toes, start with a rectangular shape for the base of each toe and add in the details. The big toe should be the longest and widest, and the other toes should decrease in size. The toenails should be curved and sit slightly above the toe.
Conclusion
Drawing feet can be challenging, but with some basic knowledge of anatomy and practice, it’s a skill that anyone can learn. Remember to pay attention to proportions, use reference images, and practice regularly. With these tips and techniques, you’ll be drawing realistic feet in no time.
Discover More
- How to Cancel FuboTV: Streamlined Guide for Subscription Freedom
- How Long Do Mice Live: Rodent Life Cycle Understanding
- How Long Does a Soccer Game Last: Sports Duration Understanding
- How to Reset Chromecast: Streaming Device Management
- How to Clean Crocs: Footwear Maintenance Method