Ever tried putting up a shelf or hanging a picture, but got stuck wondering what’s behind your wall? That’s where the stud finder comes in – a silent hero in home improvement. It’s like a special tool that helps you see through your walls. But how does this little gadget actually work?
Let’s dive into the world of stud finders, discover how they do their job, and understand why they’re so important for making sure our walls can handle everything we hang on them.
Table of contents
- What Is a Stud Finder?
- How Do Stud Finders Work?
- Types of Stud Finders
- How To Use A Stud Finder
- How To Use Stud Finders For Your Phone
- Can I Troubleshoot Phone-Based Stud Finders?
- How To Find Wall Studs With A Finish Nail or Drill Bit
- How To Know When You’ve Found A Stud?
- FAQs On Stud Finder
- Conclusion
- References
- We Also Recommend
What Is a Stud Finder?
A stud finder is a handheld electronic tool designed to locate the framing studs behind the surface of a wall. Studs are vertical wooden or metal supports within the wall structure that provide stability and support for various wall-mounted fixtures, such as shelves, cabinets, and artwork.
The primary purpose of a stud finder is to help users identify the location of these studs before drilling, nailing, or otherwise attaching objects to the wall.
How Do Stud Finders Work?
Stud finders typically work by detecting changes in the wall’s density. When passed over a wall, they identify the position of the studs by sensing variations in the material behind the wall surface. This information is crucial for homeowners, carpenters, and anyone involved in home improvement projects to ensure that they secure items to the wall in a way that is anchored to the sturdy studs rather than just the drywall.
READ ALSO: How To Find A Sugar Momma On Instagram
Types of Stud Finders
Stud finders come in various types, each with its unique operation, and your specific stud finder may function differently from another model. Here are the most common types:
1. Magnetic Stud Finder
A basic magnetic stud finder is cost-effective and doesn’t require batteries. This tool utilizes a strong magnet to identify the screws within each stud.
SEE ALSO: How To Find Drafts On Facebook App iPhone
2. Scan-Style Stud Finder
A scan-style stud finder scans the walls to detect the edges of a stud, a common image when people think of stud finders. Many models offer a deep scan option that searches for other objects within the wall, such as pipes and electrical components.
3. Sensor-Style Stud Finder
A sensor-style stud finder features multiple lights across the top that illuminate when placed over a stud. While relatively accurate, these are more expensive and can sometimes cause confusion in distinguishing between studs and non-stud areas.
4. Phone-Compatible Stud Finder
The most expensive type, phone-compatible stud finders attach to a smartphone and use its display to reveal the contents inside the wall. These devices can be highly accurate and even differentiate between studs and other elements within the wall.
READ ALSO: How To Change Home Address On iPhone
How To Use A Stud Finder
Follow the steps ahead to learn how to properly use a scan-style stud finder.
What You Need
- Stud finder
- Batteries
- Pencil
- Measuring tape
Step 1: Turn On Power
Install batteries into the stud finder. Position the stud finder at one extremity of the wall you are examining for studs, and then activate the device. Ensure that the stud finder is calibrated according to the manufacturer’s instructions.
RELATED POST: How Does Dry Cleaning Work?
Step 2: Move the Stud Finder
Gradually move horizontally across the wall. The illuminated light signals when the finder detects a stud. Gradually approach the stud by moving the finder from each side to identify the outer edges of the stud. Knowing the precise width of each stud is essential for working within those dimensions. Typically, a standard stud has a width of 1-1/2 inches.
For a preliminary estimation of stud locations, lightly tap the wall with your finger. A hollow sound indicates the absence of a stud behind the drywall, while a solid, resonant tap suggests the presence of a stud.
Step 3: Mark the Stud’s Edges
Use a pencil to mark each side of the stud. Continue moving horizontally along the wall until you have identified all the necessary studs for your project.
Step 4: Verify Placement
Verify the accuracy of the marks by measuring the distance between each one. Typically, studs are positioned 16 inches apart at the center, resulting in a 14-1/2-inch gap between the edges of adjacent studs. If the measurement is closer, it may indicate the presence of a pipe or another component. Conversely, if the measurement is around 24 inches, there is a likelihood that the studs are spaced 24 inches apart at the center, which is not uncommon in older homes.
How To Use Stud Finders For Your Phone
- Plug Scanner to Phone: Use the provided cord to plug into your phone’s audio or USB port, with the other end attached to the scanning device.
- Download App: Download the app and synchronize your phone with the scanning device.
- Attach Phone: Lock the back of the phone onto the scanning device.
- Choose Wall Type: Some phone-based stud finders ask you to select the type of wall being scanned, such as drywall, wood, or concrete.
- Calibrate: Press the calibration button on the phone. Move the scanner in large circles on the wall.
- Scan and Mark Wall: Press the scan button, then move the scanning device slowly across the wall. When you see an object, stop the scanner. Mark the wall with a pencil.
Can I Troubleshoot Phone-Based Stud Finders?
Yes, you can troubleshoot phone-based stud finders if you encounter issues with their functionality. Here are some common troubleshooting steps:
- Calibration Issues:
- Ensure that the stud finder is properly calibrated according to the manufacturer’s instructions.
- Check for any software updates for the stud finder app on your smartphone.
- Connection Problems:
- If your phone-based stud finder connects to your phone via Bluetooth, check that Bluetooth is enabled on your phone and that the stud finder is in pairing mode.
- Restart both the stud finder and your smartphone before attempting to connect again.
- App Malfunctions:
- If the stud finder uses a dedicated app, make sure the app is up to date.
- Try closing the app and reopening it to see if that resolves any software glitches.
- Interference:
- Avoid using the stud finder in areas with strong electromagnetic interference, as this could impact its performance.
- Move away from electronic devices that may interfere with the stud finder’s operation.
- Battery Level:
- Ensure that the stud finder has sufficient battery power. Low battery levels can affect accuracy.
- Replace the batteries with new ones if necessary.
- Charge the battery.
- Environmental Factors:
- Ensure the wall surface is clean and free from excessive texture, wallpaper, or other materials that could interfere with the stud finder’s readings.
- Check if the stud finder is suitable for use on lath and plaster walls if that’s the wall type you’re working with.
- Signal Strength:
- Some phone-compatible stud finders may have a signal strength indicator. Make sure you are interpreting the signal strength correctly for accurate readings.
- User Error:
- Review the user manual to ensure you are using the stud finder correctly. Pay attention to any specific instructions or guidelines provided by the manufacturer.
READ ALSO: 10 Best Tools For Cutting Drywall In | Best Tools
How To Find Wall Studs With A Finish Nail or Drill Bit
Here’s how to find wall studs with a finish nail or drill bit:
Step 1: Mark the Starting Point on the Wall
Identify a starting point on the wall, approximately aligned with the height where you intend to install anchor nails or screws. For instance, if you are mounting wall cabinets, make the mark at the level corresponding to the cabinet’s nailing strip.
:max_bytes(150000):strip_icc():format(webp)/find-a-stud-in-a-wall-182288-01a-83bdad0beaeb4ae49ba9ddaec61a00b0.jpg)
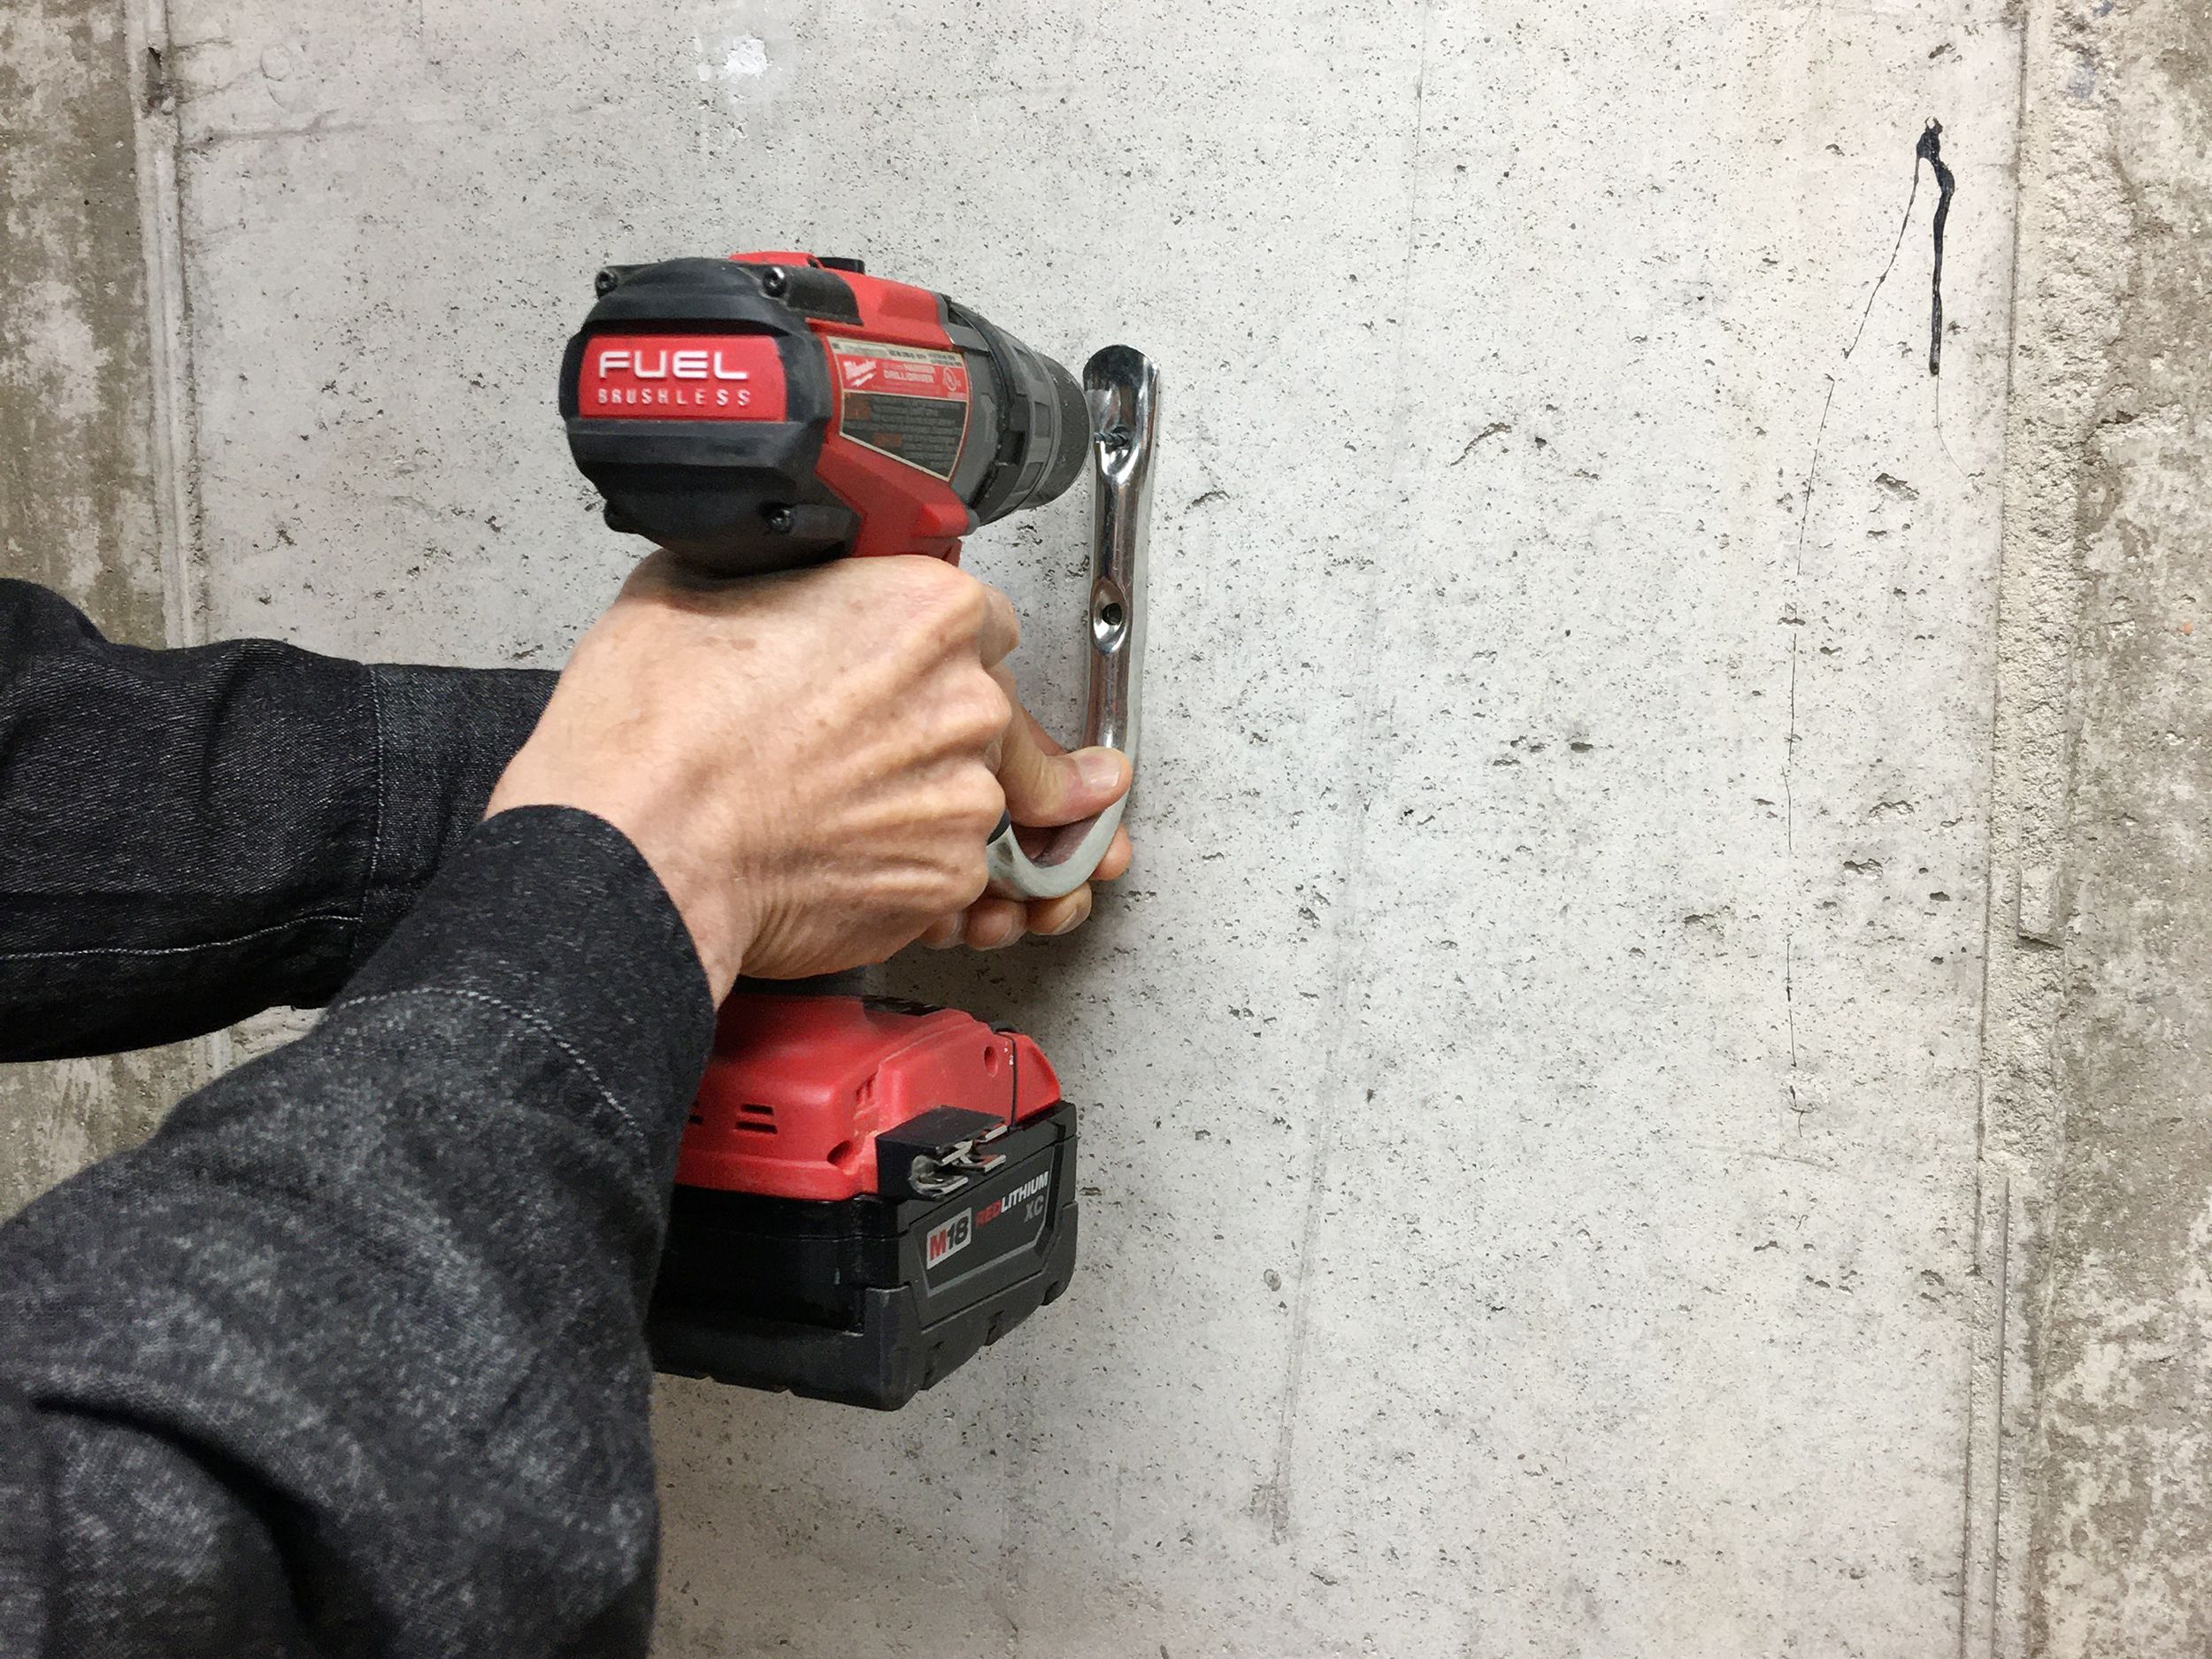
Step 2: Drill or Drive Exploratory Holes
With a hammer and a small finishing nail or a drill equipped with a 1/8-inch twist bit, create a sequence of holes in the wall on both sides of the designated starting point, spaced approximately 1/2 inch apart. The presence of a stud becomes evident as you encounter resistance with a finishing nail or observe wood dust accumulating on the tip of the drill bit.
READ ALSO: 10 Best Tools For Cutting Drywall In | Best Tools
:max_bytes(150000):strip_icc():format(webp)/find-a-stud-in-a-wall-182288-02a-aae36145598949d184d73248f4397979.jpg)
Step 3: Outline First Stud
Identify both edges of the stud utilizing the exploration holes, then use a pencil to mark these edges on the wall.
:max_bytes(150000):strip_icc():format(webp)/find-a-stud-in-a-wall-182288-03a-f412f2ef597a40d7b3b5a8435678182b.jpg)
Step 4: Measure Other Studs
Measure at intervals of 16 inches from the initial stud (or 24-inch intervals for walls framed with 2x6s) and indicate the centers of adjacent studs.
:max_bytes(150000):strip_icc():format(webp)/find-a-stud-in-a-wall-182288-04a-b7fae9b028c14aa6842a3ae53303298e.jpg)
Step 5: Check for Other Studs
Confirm that you’ve located the studs with another exploratory hole at each stud location.
:max_bytes(150000):strip_icc():format(webp)/find-a-stud-in-a-wall-182288-05a-465a7485b12b4406accbf6c83ac23249.jpg)
Step 6: Mark Other Studs
If necessary, you can make lines to mark the locations of the studs along the wall, using a level.
:max_bytes(150000):strip_icc():format(webp)/find-a-stud-in-a-wall-182288-06a-8aae3e5d8e6a4b9ba80cd78ff88f388e.jpg)
Step 7: Patch Wall
After marking the stud locations, employ a drywall taping compound (mud) to fill the exploration holes on the wall. Once the mud has dried, you can gently sand the surface and proceed to paint the wall. If the holes will be concealed by cabinetry, filling them may not be necessary.

How To Know When You’ve Found A Stud?
A: Stud finders usually signal the detection of a stud through a visual or audible cue. For example, a light may turn on or a beeping sound may occur. Additionally, tapping the wall lightly with your finger and listening for a solid sound can help verify the presence of a stud.
FAQs On Stud Finder
Stud finders typically work by detecting changes in the wall’s density. They use various methods, such as magnetic fields or electronic sensors, to identify the presence of studs behind the wall surface.
Some advanced stud finders may have additional scanning features to detect objects like pipes or electrical components behind the wall. However, the primary function is to locate studs.
Older homes may have different stud spacing, such as 24 inches in the center instead of the standard 16 inches. It’s essential to be aware of the specific spacing in your home and adjust your measurements accordingly when using a stud finder.
Conclusion
From magnetic marvels to high-tech phone-compatible tools, stud finders provide us with the ability to peer through walls and identify the sturdy supports that make our wall-mounted visions a reality. The next time you embark on a home improvement project, armed with your stud finder, remember the simple yet crucial role it plays in ensuring your shelves are secure, your paintings are perfectly aligned, and your furniture stands steadfast.
References
- home.howstuffworks.com – How do stud finders work?
- bhg.com – How to Use a Stud Finder
- thespruce.com – How to Use a Stud Finder