Have you decided it’s time for a flooring makeover? Removing laminate flooring can be a game-changer, opening the door to a fresh new look.
In this article, we would break down all you should know if you have been wondering how to remove laminate flooring. Get ready to let go of your old floors and let in the new.
Table of contents
How to Remove Laminate Flooring- Step By Step Guide
Step 1: Prepare the Space

Clear the room of furniture and obstacles. This provides a clear workspace for efficient laminate removal.
Step 2: Remove Baseboards and Trim
Use a pry bar or a hammer and chisel to carefully remove baseboards and trim along the walls. This allows for easier access to the edges of the laminate flooring.
Step 3: Locate a Starting Point
Choose a starting point along one wall. Look for an edge where you can begin lifting the laminate flooring. A corner or an inconspicuous area is often a good starting point.
Step 4: Lift the Laminate Planks
Insert a pry bar or putty knife beneath the edge of a laminate plank. Gently lift and loosen the plank. Once the first plank is lifted, work your way along the row, gradually lifting and disconnecting the interlocking edges.
Check out this related content: How To Get Mildew Out Of Clothes In Less Time
Step 5: Work Row by Row

Continue lifting and removing planks row by row. Use a rubber mallet if needed to gently tap planks that are stubborn. Take care to avoid damaging the planks during removal.
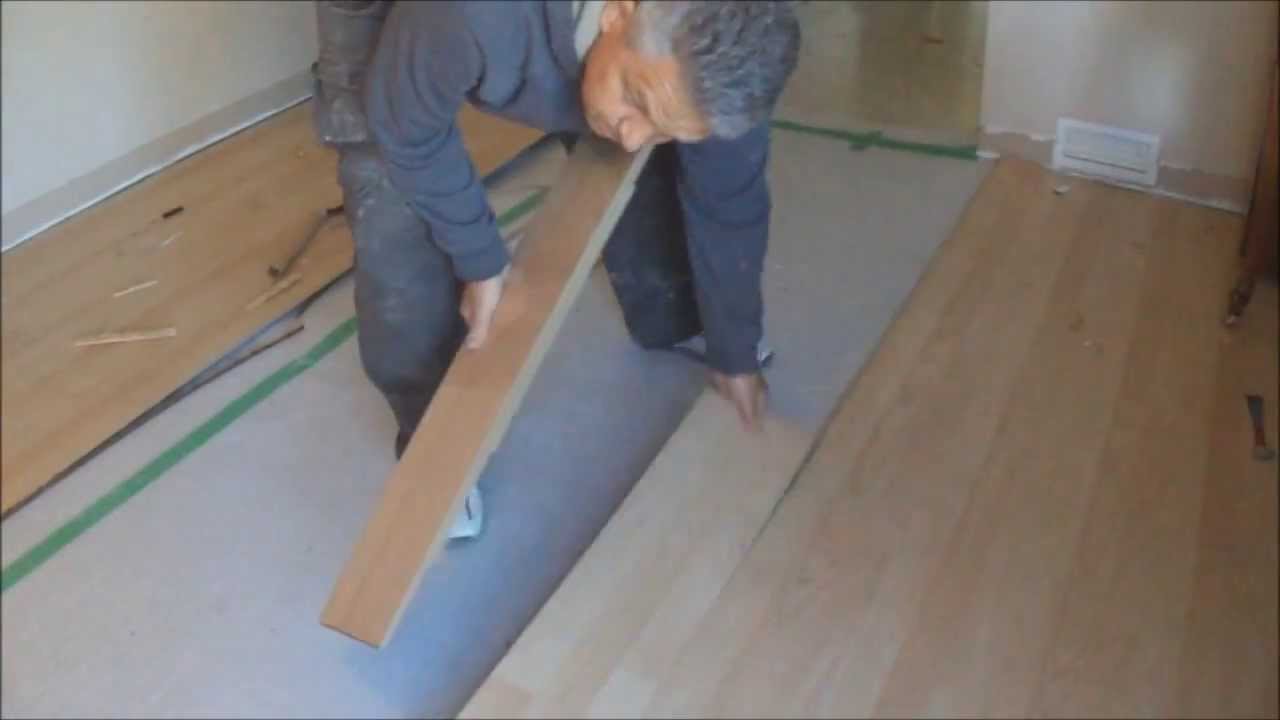
Step 6: Address Adhesive or Underlayment
:max_bytes(150000):strip_icc()/underlayment-for-laminate-flooring-1822245_01-cad66fe5f1ab47b28c30a7d9ccfb702c.jpg)
If your laminate flooring was glued down, you may encounter adhesive residue on the subfloor. Use a scraper or putty knife to remove any adhesive. If there’s an underlayment, assess its condition and decide whether to keep or replace it.
Step 7: Clean and Prepare Subfloor
Once all laminate planks are removed, clean the subfloor of any debris or adhesive residue. Ensure the subfloor is smooth and ready for new flooring.
Step 8: Dispose of Laminate Responsibly
Consider recycling or disposing of the old laminate flooring responsibly. Check local regulations for recycling options.
Note: Always wear safety gear, including gloves and safety glasses, during the removal process. Take your time to avoid damaging the subfloor, and use caution with tools to prevent injuries. Following these steps will help you successfully remove laminate flooring and prepare the space for your next flooring adventure.
Read also: How to Organize Tools in your Toolbox
Can I reuse laminate flooring after removal?
It’s challenging to reuse laminate flooring after removal. Laminate flooring is typically designed to interlock during installation, and disassembling the planks can often cause damage. The interlocking mechanisms may break or become weakened during the removal process, making it difficult to reassemble them seamlessly.
Additionally, laminate flooring can undergo wear and tear during its lifespan, and reused planks may not have the same structural integrity or visual appeal as new ones.
While some DIY enthusiasts may attempt to salvage and reuse laminate flooring, it’s generally more practical and aesthetically pleasing to consider new flooring for your space. This allows for a fresh start and ensures a high-quality, uniform look in your newly renovated area.
Check out this related content: How to Get Rid of Ground Hornets
Do I need special tools for laminate flooring removal?
You don’t necessarily need specialized tools for laminate flooring removal, but having the right tools can make the process smoother. Here are some tools you might find useful:
Pry Bar or Putty Knife:
Essential for gently lifting the edges of laminate planks and starting the removal process.
Rubber Mallet:
Useful for tapping stubborn planks and helping to disengage interlocking edges without causing damage.
Hammer and Chisel:
Handy for removing baseboards and trim, creating access points for easier removal.
Utility Knife:
Useful for cutting through any adhesive or underlayment that may be present.
Heat Gun or Hairdryer:
Can be used to apply heat to stubborn adhesive, making it easier to scrape away.
Scraper or Putty Knife:
Useful for removing adhesive residue from the subfloor.
Safety Gear:
Wear gloves and safety glasses to protect yourself during the removal process.
While these tools can aid in the removal of laminate flooring, the specific tools you need may vary based on factors such as the type of flooring, installation method, and any additional materials used. Always exercise caution when using tools and follow proper safety guidelines.
Read also: Top 10 Spring Plants you don’t know about
What precautions should I take during laminate flooring removal?
Taking proper precautions during laminate flooring removal is essential to ensure your safety and the success of the project. Here are some key precautions to keep in mind:
Safety Gear:
Wear gloves to protect your hands from splinters, sharp edges, and adhesives. Safety glasses or goggles can shield your eyes from debris.
Clothing:
Wear appropriate clothing, including long sleeves and pants, to minimize the risk of scratches or irritation from the flooring material.
Stability:
Ensure a stable and clutter-free workspace. Remove furniture and obstacles from the room to provide ample space for maneuvering.
Tools:
Use tools properly and follow safety guidelines. Exercise caution when handling sharp tools, and be mindful of the potential for injury.
Lifting Techniques:
Practice proper lifting techniques to avoid strain or injury. Bend at the knees and lift with your legs rather than your back when picking up heavy objects.
Electricity:
If you’re using power tools, be mindful of electrical cords. Keep cords out of the way to prevent tripping hazards.
Subfloor Inspection:
Check the subfloor for any protruding nails or staples before starting the removal process. Address these hazards to prevent injuries.
Ventilation:
If you’re using tools that produce dust or fumes, ensure proper ventilation in the room. Consider wearing a mask to protect against dust inhalation.
Disposal:
Safely dispose of removed flooring material. Stack it neatly or place it in designated disposal bags to avoid tripping hazards.
Work Methodically:
Take your time and work methodically to avoid rushing and making mistakes that could lead to injuries or damage.
By following these precautions, you can create a safer work environment and reduce the risk of accidents or injuries during the laminate flooring removal process.
Check out this related content: What Is In Moth Balls?
Conclusion
When it comes to home improvement, saying goodbye to old laminate flooring opens the door to a world of possibilities. However, with a few tools and some know-how, you can embark on this DIY journey, transforming your space one plank at a time.
You should read: 5 Expert Tools You Need for Demolition
Frequently Asked Questions
How do I start removing laminate flooring?
Begin by removing baseboards and trim, then locate a starting point and gently pry up the edge of a laminate plank using a pry bar or putty knife.
Can I reuse laminate flooring after removal?
It’s challenging to reuse laminate planks due to the interlocking nature of their installation. They may get damaged during removal, so it’s often more practical to consider new flooring.
Do I need special tools for laminate flooring removal?
Basic tools like a pry bar, putty knife, and a rubber mallet are handy. If you’re dealing with stubborn planks, a heat gun can make the process smoother.
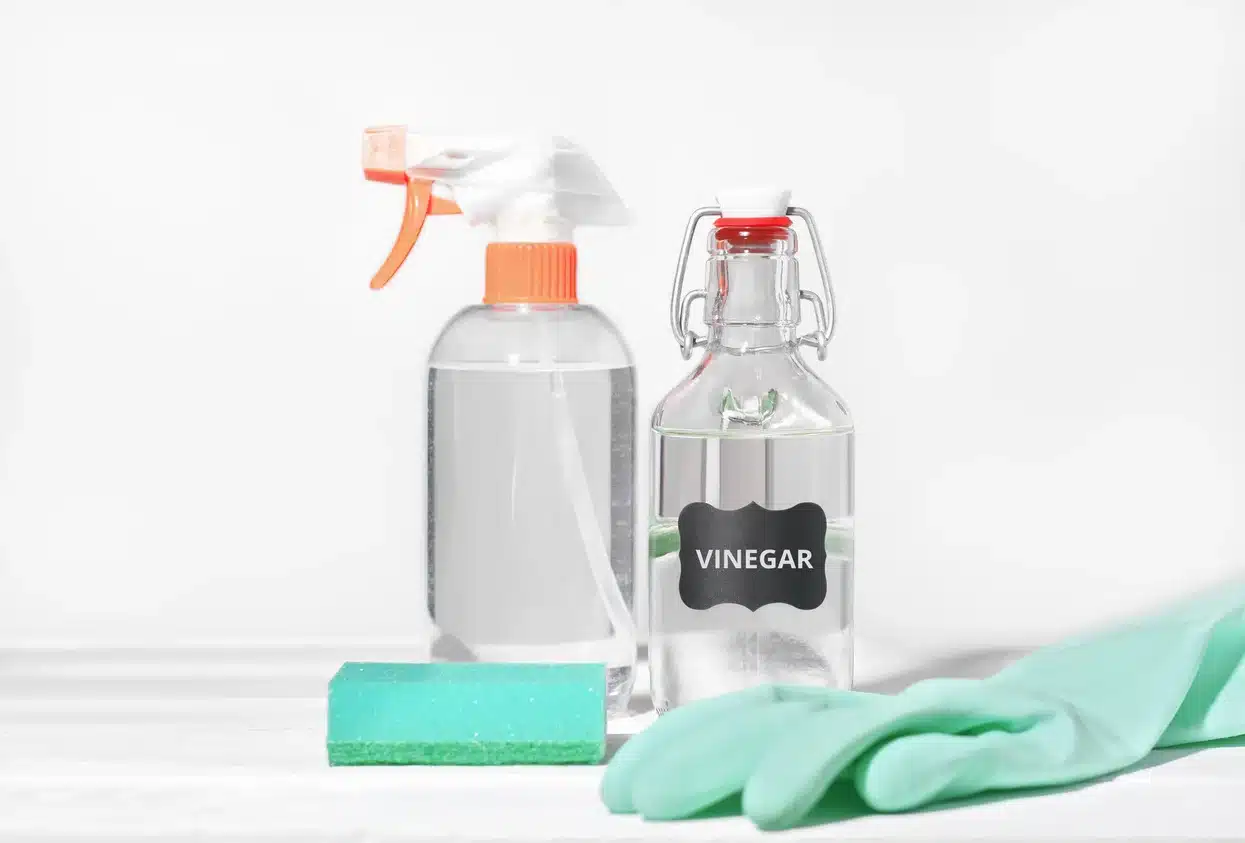
How do I handle stubborn adhesive during removal?
For adhesive residue, use a scraper or putty knife, and consider applying heat with a hairdryer or heat gun. A mixture of warm water and vinegar can also help dissolve stubborn adhesives.
What precautions should I take during laminate flooring removal?
Wear safety gear, including gloves and safety glasses, to protect yourself. Take your time to avoid damaging the subfloor, and be cautious when using tools to prevent injuries.
References
- thespruce.com– how to remove laminate flooring
- bobvila.com– how to remove laminate flooring
- homeserve.com– how to remove laminate flooring