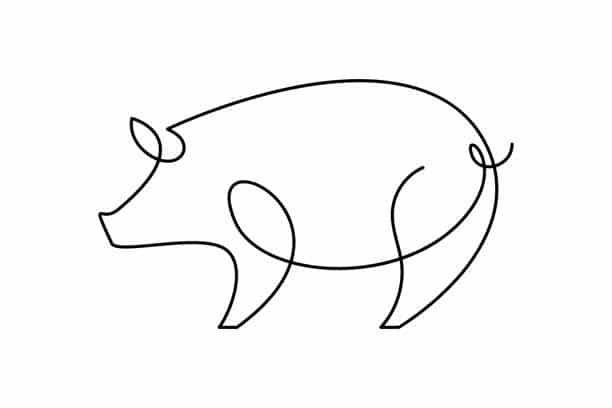
Are you interested in learning how to draw a pig? Look no further. In this article, we will explore charming techniques in farm animal artistry that will help you create a realistic and adorable pig drawing. So, grab your pencil, and let’s get started.
Table of contents
Materials Needed:
Before we dive into the step-by-step process, let’s gather the materials you will need:
1. Drawing paper: Choose a smooth and sturdy paper to ensure the best results.
2. Pencils: Have a range of pencils with different lead thicknesses, such as HB, 2B, and 4B, to create various shades and textures.
3. Eraser: A good quality eraser will help you correct any mistakes and smudges.
4. Reference images: It’s always helpful to have reference images of pigs to guide you through the drawing process.
Step 1: Basic Outlines
Start by lightly sketching the basic outlines of the pig. Begin with a circle for the head and an oval shape for the body. Use light, gentle strokes to keep the lines flexible and easy to adjust.
Step 2: Facial Features
Now, let’s add the pig’s facial features. Draw two small circles for the eyes, slightly towards the upper part of the head. Then, draw a small triangular shape for the nose just below the eyes. Add two small curved lines on either side of the nose to indicate the nostrils. Lastly, draw a curved line for the mouth, slightly below the nose.
Step 3: Ears and Hair
Pigs have distinctive ears and hair, so let’s focus on those next. Draw two curved lines on top of the head to represent the pig’s ears. Make them slightly pointed at the ends. Then, add some wavy lines inside the ears to indicate the hair.
Step 4: Body and Legs
Now, let’s work on the body and legs of the pig. Connect the head and the body with a curved line. Draw two short lines extending from the bottom of the body to create the front legs. Then, draw two longer lines for the back legs, slightly angled to give the impression of depth.
Step 5: Tail and Details
Pigs have curly tails, so let’s draw one! Add a curved line at the back of the body, starting from the hip area. Make it wavy to give it a curly appearance. Next, add some details like wrinkles on the pig’s face and body using short, curved lines. Don’t forget to add some lines on the legs to indicate the hooves.
Step 6: Shading and Texture
To make your pig drawing more realistic, it’s time to add shading and texture. Use your range of pencils to create different shades and textures. Start by shading the darker areas, such as the pig’s body and the areas under the ears. Then, gradually add lighter shades to create dimension.
Step 7: Finishing Touches
Lastly, refine your drawing by erasing any unnecessary lines and smudges. Pay attention to the details and make any adjustments you feel necessary. You can also add some grass or a farm background to enhance the overall composition if you’d like.
Discover More
- How to Cancel FuboTV: Streamlined Guide for Subscription Freedom
- How Long Do Mice Live: Rodent Life Cycle Understanding
- How Long Does a Soccer Game Last: Sports Duration Understanding
- How to Reset Chromecast: Streaming Device Management
- How to Clean Crocs: Footwear Maintenance Method
References
- https://www.adobe.com/creativecloud/illustration/discover/