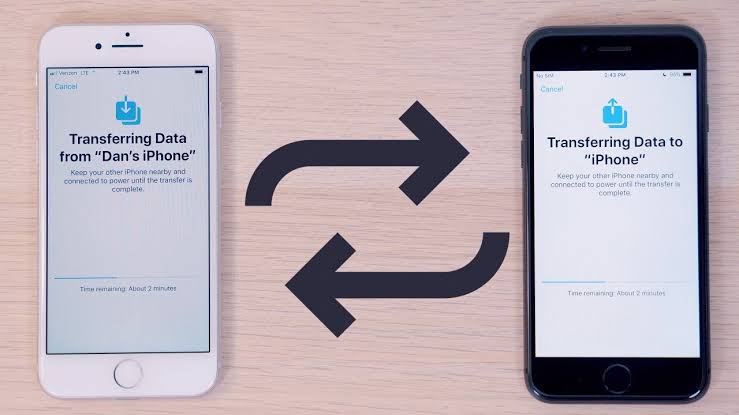
In today’s digital age, our smartphones have become repositories of our precious memories, capturing life’s fleeting moments through photos and videos.
As we upgrade to newer iPhone models, the question of transferring these cherished memories arises. Luckily, transferring photos from iPhone to iPhone is a straightforward process, ensuring your memories remain intact.
Learn the steps to transfer photos from iPhone to iPhone.
Table of contents
How to Transfer Photos from iPhone to iPhone
Method 1: iCloud Photo Library
Apple’s iCloud Photo Library offers a seamless solution for transferring photos between iPhones. This method involves syncing your photos to iCloud and then downloading them to the new iPhone.
Ensure iCloud Photo Library is Enabled: On both iPhones, navigate to Settings > [Your Name] > iCloud > Photos. Toggle on “iCloud Photo Library” to ensure your photos are synced to iCloud.
Transfer Photos on the New iPhone: On the new iPhone, sign in with your iCloud account and follow the on-screen instructions to set up iCloud Photo Library. Your photos will automatically download to the new device.
Method 2: iTunes or Finder
For those who prefer a hands-on approach, iTunes or Finder (for macOS Catalina and later) provides a reliable method for transferring photos.
Connect iPhones to Computer: Connect both iPhones to your computer using USB cables.
Launch iTunes or Finder: Launch iTunes on Windows or Finder on macOS.
Select the Source iPhone: Locate your source iPhone in iTunes or Finder.
Access Photos Tab: Click on the “Photos” tab in iTunes or the “Photos” button in Finder.
Choose “Sync Photos”: Select the “Sync Photos from [Source iPhone Name]” checkbox.
Customize Selection: If you want to transfer specific albums or photos, click on “Choose Photos to Sync” and select the desired options.
Apply and Sync: Click on “Apply” and then “Sync” to initiate the transfer process.
Method 3: AirDrop
For quick and easy transfers of smaller photo batches, AirDrop offers a convenient solution.
Enable AirDrop: On both iPhones, swipe down from the top right corner of the screen to open the Control Center. Ensure AirDrop is enabled for “Everyone” or “Contacts Only.”
Select Photos: On the source iPhone, open the Photos app and select the photos you want to transfer.
Tap the Share Icon: Tap on the share icon (represented by an upward arrow) in the bottom left corner.
Choose the Destination iPhone: Locate the destination iPhone under AirDrop and tap on it.
Accept on the Destination iPhone: On the destination iPhone, a notification will appear. Tap on “Accept” to receive the photos.
What you need to know before transferring media photos from iPhone to iPhone
Ensure both iPhones have sufficient storage space for the transfer.
Maintain a stable Wi-Fi connection for iCloud Photo Library and AirDrop transfers.
For larger photo libraries, consider using external storage devices or cloud storage services.
Regularly back up your photos to prevent data loss.
Conclusion
Remember, your precious memories deserve to be preserved and cherished. By following these simple methods, you can effortlessly transfer your photos from iPhone to iPhone, ensuring your memories remain accessible and evergreen.
Recommendations
- How to Draw a Feet: Anatomical Illustration Skill
- How to Talk to Your Cat About Gun Safety: Humorous Pet Communication
- How Long Does Pre-Workout Last: Fitness Supplement Understanding
- How to Tell if Sinus Infection Has Spread to Brain: Health Risk Awareness
- How Long is a Score – Historical Time Understanding


