Getting home to a flooded room or apartment can be draining. Waiting for the plumber to fix your bad faucets may take forever. This article is a DIY guide on how to do faucet repairs in less time.
You can easily pick up the materials from a mall and get them changed to avoid the effect of faulty faucets. The average faucet turns on and off about 60 times per day. This means faucets are expected to last for 10 years on average.
Don’t get pissed off by them, if they have outlived their lifespan. Let’s guide you through changing them in just a few minutes.
Table of contents
What are Common faucet problems?
Faucets are essential plumbing fixtures that provide water for various purposes in our homes. To understand faucet repairs better, grasping common faucet problems is ideal.
Some of these problems may require a simple faucet repair, others may need a total faucet change. Below are common problems you may experience with your faucets:
- Dripping Faucet: A dripping faucet is one of the most prevalent issues, often caused by worn-out or damaged O-rings or washers.
- Low Water Pressure: If your faucet is delivering a weak stream of water, it could indicate a blockage in the aerator or a buildup of mineral deposits.
- No Water Flow: A complete lack of water flow from the faucet can be caused by various factors, including a clogged cartridge, a malfunctioning valve, or a disruption in the water supply lines.
- Leaky Faucet Handle: A leaky faucet handle can be caused by a worn-out O-ring or a loose packing nut.
- Noisy Faucet: A noisy faucet is often a sign of a worn-out or damaged washer. The washer is a component that regulates the flow of water and prevents it from slamming against the valve seat, causing noise.
- Rust or Corrosion: Rust and corrosion can affect the appearance and functionality of a faucet, especially in areas with hard water.
- Malfunctioning Sprayer: Pull-out or side sprayers are common features in many faucets, but they can become clogged or malfunction due to mineral buildup or debris.
- Loose Faucet: A loose faucet can wobble or jiggle when turned, indicating that the mounting screws or bolts are not tightened properly.
Read Also: How to Remove Laminate Flooring | Full Guide with Photos
How to Do Faucet Repairs in Less time | Full Guide
A leaky faucet is not just an annoyance; it’s a waste of water and money. In fact, a single dripping faucet can waste up to 20 gallons of water per day, which adds up to over 7,000 gallons per year.
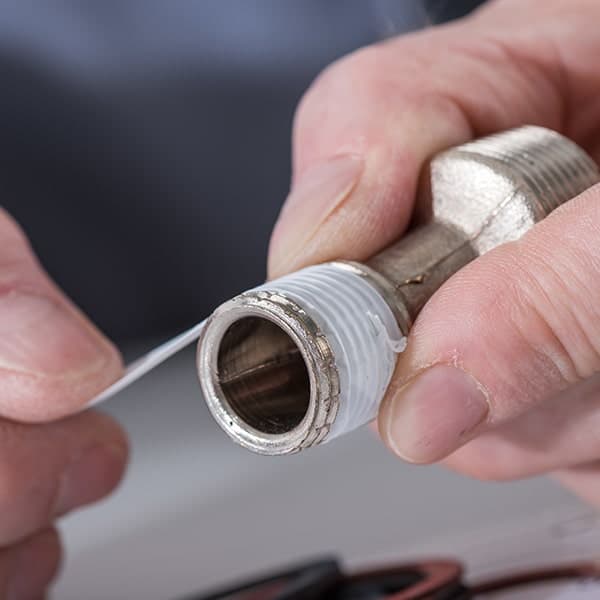
So, fixing a leaky faucet is a relatively simple DIY project that can save you money on water bills. To do faucet repairs in less time, it is essential to get a repair kit like a Delta faucet repair kit.
Depending on what you need to fix, you will have a need for the following tools:
- Adjustable wrench
- Phillips screwdriver
- Flathead screwdriver
- Allen wrench
- Bucket or towels
- Flashlight
- Replacement parts (if necessary)
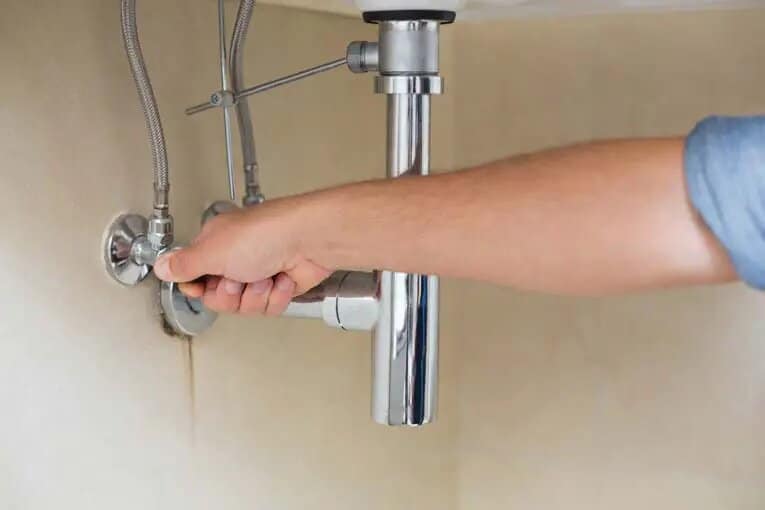
#1: Turn off the water supply
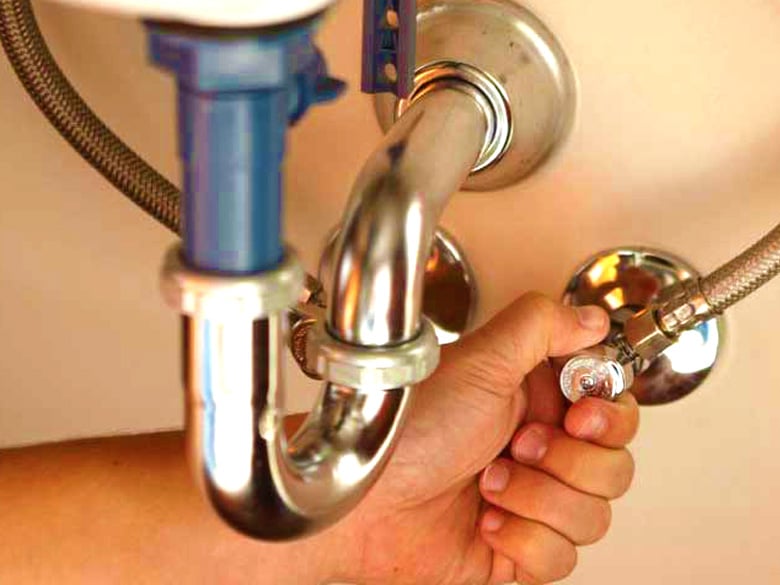
Locate the shut-off valves under the sink. Shut-off valves are typically located under the sink, near the water pipes. They are usually small, brass or plastic knobs or levers.
Turn them clockwise until they stop. Open the faucet to drain any remaining water.
#2. Remove the faucet handle
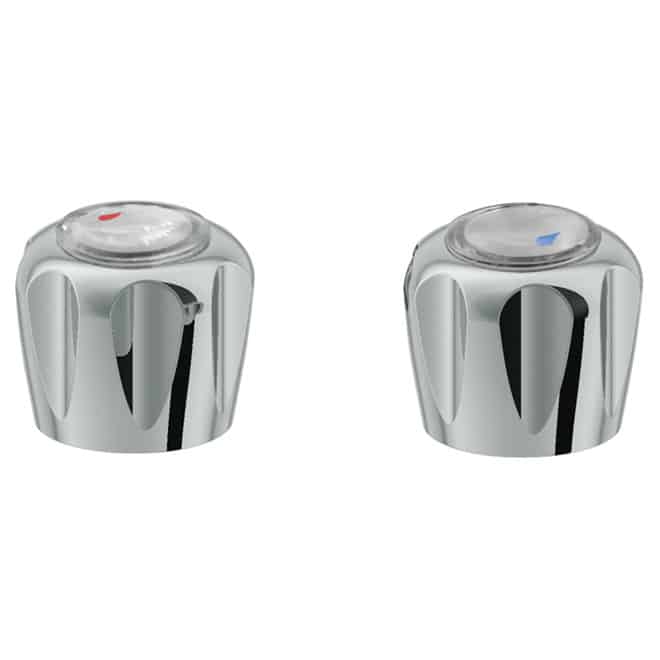
There will usually be a small screw or cap that needs to be removed. Once the screw or cap is removed, you should be able to pull the handle off. To remove the screw:
- Locate the set screw or cap. The set screw or cap is typically located on the underside of the faucet handle. It is usually small and may be hidden under a decorative cap.
- Remove the set screw or cap. Use a Phillips screwdriver or a flathead screwdriver to remove the set screw or cap.
- Pull the handle off. Once the set screw or cap is removed, you should be able to pull the handle straight off. If the handle is stuck, you may need to wiggle it gently or use a prying tool to loosen it.
- If the handle is stuck, try using a lubricant. Apply the lubricant to the stem of the handle and let it sit for a few minutes before trying to remove the handle.
#3. Remove the stem
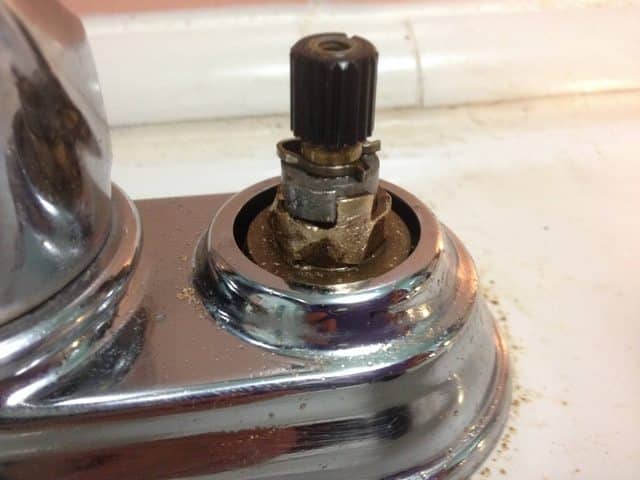
The stem is the part that the handle connects to. It is usually held in place by a packing nut or a clip. The packing nut or clip is the component that secures the stem in place. It’s typically located under the handle or on the side of the faucet body.
Use an adjustable wrench to loosen the packing nut by turning it counterclockwise. If it’s a clip, use a flathead screwdriver or a pair of pliers to pry it off gently.
Once the packing nut or clip is loosened, you should be able to pull the stem straight out of the faucet body. If the stem is stuck, use gentle wiggling motions or a hairdryer to heat it up slightly.
Read Also: How does a laser tape measure work?
#4: Inspect the O-rings and washers.
O-rings and washers are the seals that prevent water from leaking. If they are worn or damaged, they will need to be replaced. They are typically found around the stem, the part that the faucet handle is connected to.
They may also be located around the cartridge or other components of the faucet. To repair O rings and washers:
- Ensure that the O-rings and washers fit snugly around the stem or other components they are supposed to seal. If they are too loose or too tight, they will not effectively prevent water leakage.
- If you find any worn or damaged O-rings or washers, you must replace them with new ones that match the original size and specifications.
- Use a plumber’s supply store or hardware store to find the appropriate replacement parts.
- If the O-rings and washers are not damaged but appear dirty or corroded, clean them gently with a soft brush and soapy water.
#5. Reassemble the faucet
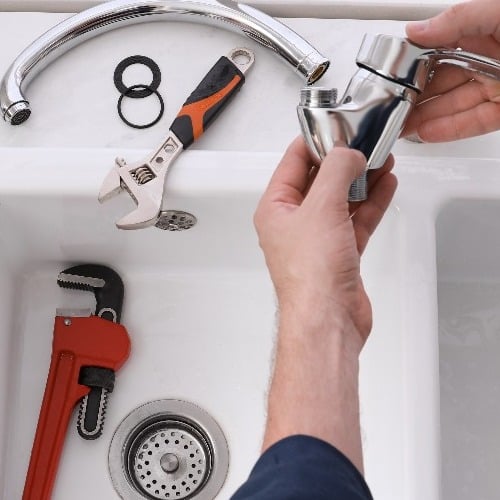
Put the new O-rings and washers in place. Then, reinsert the stem and tighten the packing nut or clip. Put the handle back on and tighten the screw or cap.
- Insert the stem into the faucet body
- Secure the stem with the packing nut or clip
- Attach the faucet handle
- Connect any remaining components
- Turn on the water supply slowly
- Tighten any loose connections if necessary
- Test the faucet thoroughly
- Clean up the work area
#6. Turn on the water supply slowly.
Open the shut-off valves slowly and check for leaks. If there are no leaks, your faucet repair is complete!
Read Also: Painter’s Tape vs. Masking Tape: What’s the Difference?
How to Fix leaky faucet repair DIY
To do leaky faucet repair DIY, you need to identify the type of faucet you have. There are two main types of faucets: compression faucets and cartridge faucets.
Afterward, research the specific repair process for your type of faucet. There are many resources available online and in libraries that can help you repair your faucet.
Then, practice the repair process on an old faucet or a faucet that you are not using. This will help you get used to the process and make sure that you do not damage your faucet. Follow the steps below to get started with preparing a leaky faucet:
- Turn off the water supply
- Remove the faucet handle
- Remove the stem
- Inspect the O-rings and washers
- Clean the stem and faucet body
- Replace worn-out O-rings and washers.
- Install a new stem or cartridge (if necessary)
- Reassemble the faucet
- Turn on the water supply slowly
Read Also: How Does a Water Heaters Work?
How to get an outdoor faucet repair kit?
Outdoor faucet repair kits are readily available at various home improvement stores and online retailers. However, before purchasing a repair kit, it’s important to determine the type of outdoor faucet you have.
Once you’ve identified the faucet type, head to a home improvement store like Home Depot, Lowe’s, or Ace Hardware. You’ll find outdoor faucet repair kits in the plumbing section.
Alternatively, you can find a wide selection of outdoor faucet repair kits on online retailers like Amazon, eBay, and Walmart. Check customer reviews and ensure the kit matches your faucet type.
Read Also: How to Organize Tools in your Toolbox
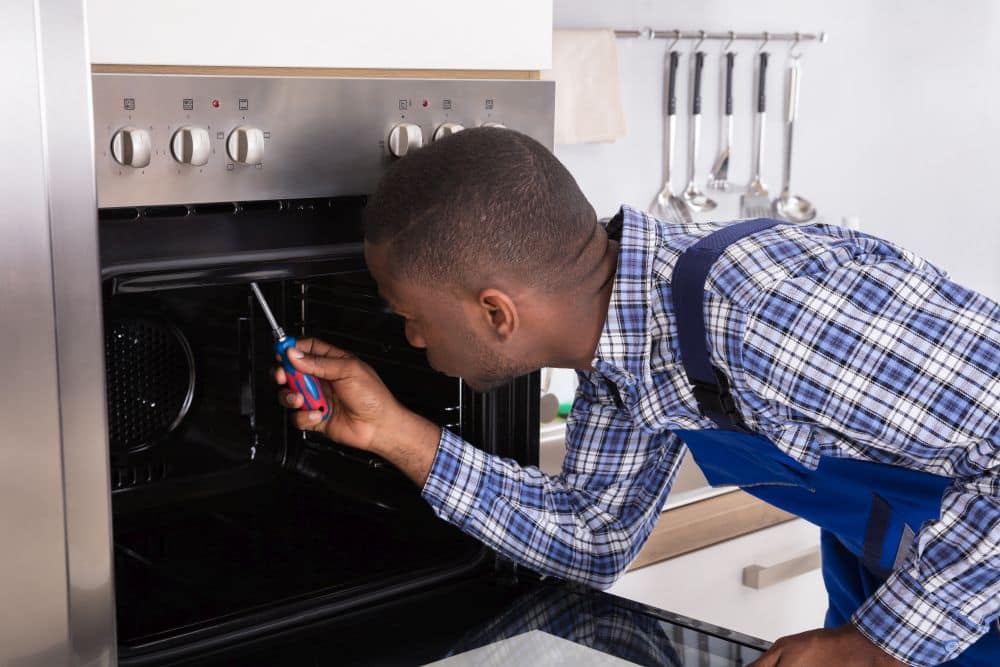
Do plumbers fix faucets?
Yes, plumbers are trained and equipped to handle various plumbing issues, including faucet repair.
They can diagnose the source of the problem, determine the necessary components to be replaced, and perform the repair efficiently and safely. Plumbers can also replace worn-out or damaged faucets. They can identify the source of a leak and repair the damaged seals or gaskets.
Also, plumbers can check for clogs in the faucet aerator or water line and are trained to identify and repair loose or damaged parts.
Read Also: How To Remove Double-Sided Tape
What are Delta faucet repair kits?
A Delta faucet repair kit is a collection of replacement parts specifically designed to fix and maintain Delta brand faucets. These kits typically include O-rings, washers, and other seals that prevent leaks, as well as stem cartridges, and other components that may become worn or damaged over time.
They are available for a variety of Delta faucet models, including compression faucets, cartridge faucets, and ball faucets. The specific parts included in the kit will vary depending on the type of faucet.
Using a Delta faucet repair kit is a cost-effective and relatively easy way to fix a leaky or malfunctioning Delta faucet. However, it is important to choose the correct kit for your specific faucet model and to follow the instructions carefully.
Generally, Delta faucet repair kits are a valuable tool for homeowners who want to maintain their Delta faucets and avoid costly plumber visits.
Pros
- Cost-effective way to fix Delta faucets
- Easy to use for most DIYers
- Includes all the necessary parts for most common repairs
- Available for a wide variety of Delta faucet models
Cons
- Some kits may be missing specific parts for certain faucet models
- Not all Delta faucet problems can be fixed with a repair kit
- Not suitable for major repairs or plumbing emergencies
Frequently Asked Questions
A water faucet is also known as a water tap, water spigot, or water valve
You can prevent your faucet from leaking by regularly inspecting the O-rings and washers and replacing them if they are worn or damaged.
Fixing a leaky faucet will cost less than $20.
If you fixed your leaky faucet but it’s still leaking, there may be a more serious problem with the faucet. You contact a plumber.
Faucets are held in place by two main components: Mounting nuts and Escutcheon.
Conclusion
Faucets are essential fixtures in our homes and they are used for various purposes. When they are working properly, they allow us to easily access clean water for washing our hands, brushing our teeth, and cooking.
However, when faucets malfunction, they can cause a lot of inconvenience and frustration. This article discusses how to do a leaky faucet repair, yourself. It also provides information on how to identify and fix common faucet problems.
References
- The Spruce.com – How to Fix a Leaky Faucet
- How Stuff Works.com – Faucet Repair Guide: How to Repair a Leaky Faucet
- This Sold House.com – How to Fix a Leaky Faucet