When it comes to giving your bathroom a new look, resurfacing the bathtub is a cost-effective and efficient solution. In fact, the process of resurfacing has gained popularity in recent years due to its affordability and the ability to breathe new life into worn-out tubs.
Resurfacing a bathtub is a process of applying a new coating or finish over the existing surface of your tub, which can improve its appearance and durability. In this article, we will show you how to resurface a bathtub yourself, what are the benefits and drawbacks of this option, and what are the best products and tools to use.
By the end of this article, you will have a clear idea of how to resurface a bathtub and whether it is the right choice for you.
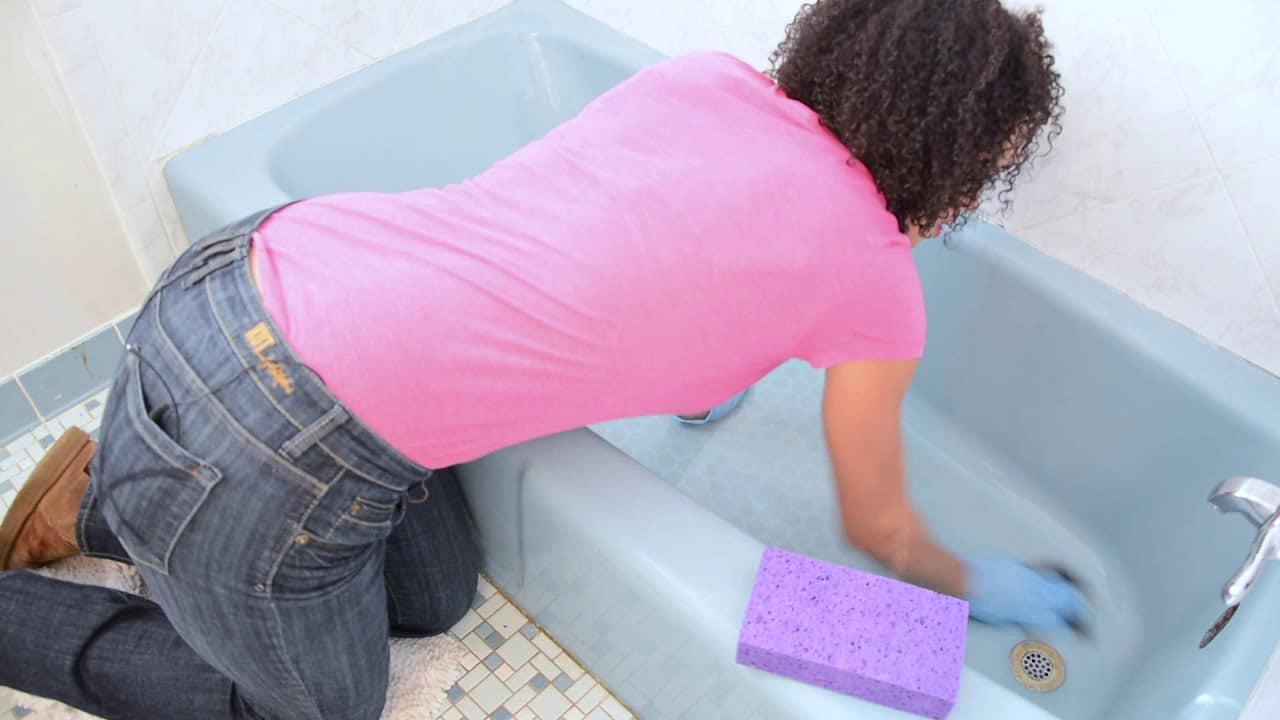
Table of contents
- What are the Different Types of Bathtubs
- How Long Does it Take to Resurface a Bathtub?
- What are the Steps to Resurface a Bathtub?
- How Long Does a Resurfaced Bathtub Last?
- What are the Best Products and Tools to Resurface a Bathtub?
- How Much Does it Cost to Resurface a Bathtub?
- What are the Pros and Cons of Resurfacing a Bathtub?
- What Cleaning Products Should I Use on a Resurfaced Bathtub?
- How to Avoid Common Mistakes When Resurfacing a Bathtub?
- FAQs
- Conclusion
- References
- Recommendations
What are the Different Types of Bathtubs
Bathtubs come in various styles and materials, catering to different preferences and practical needs. Understanding the options available can help you make an informed decision when selecting a bathtub for your home.
#1. Alcove Tubs
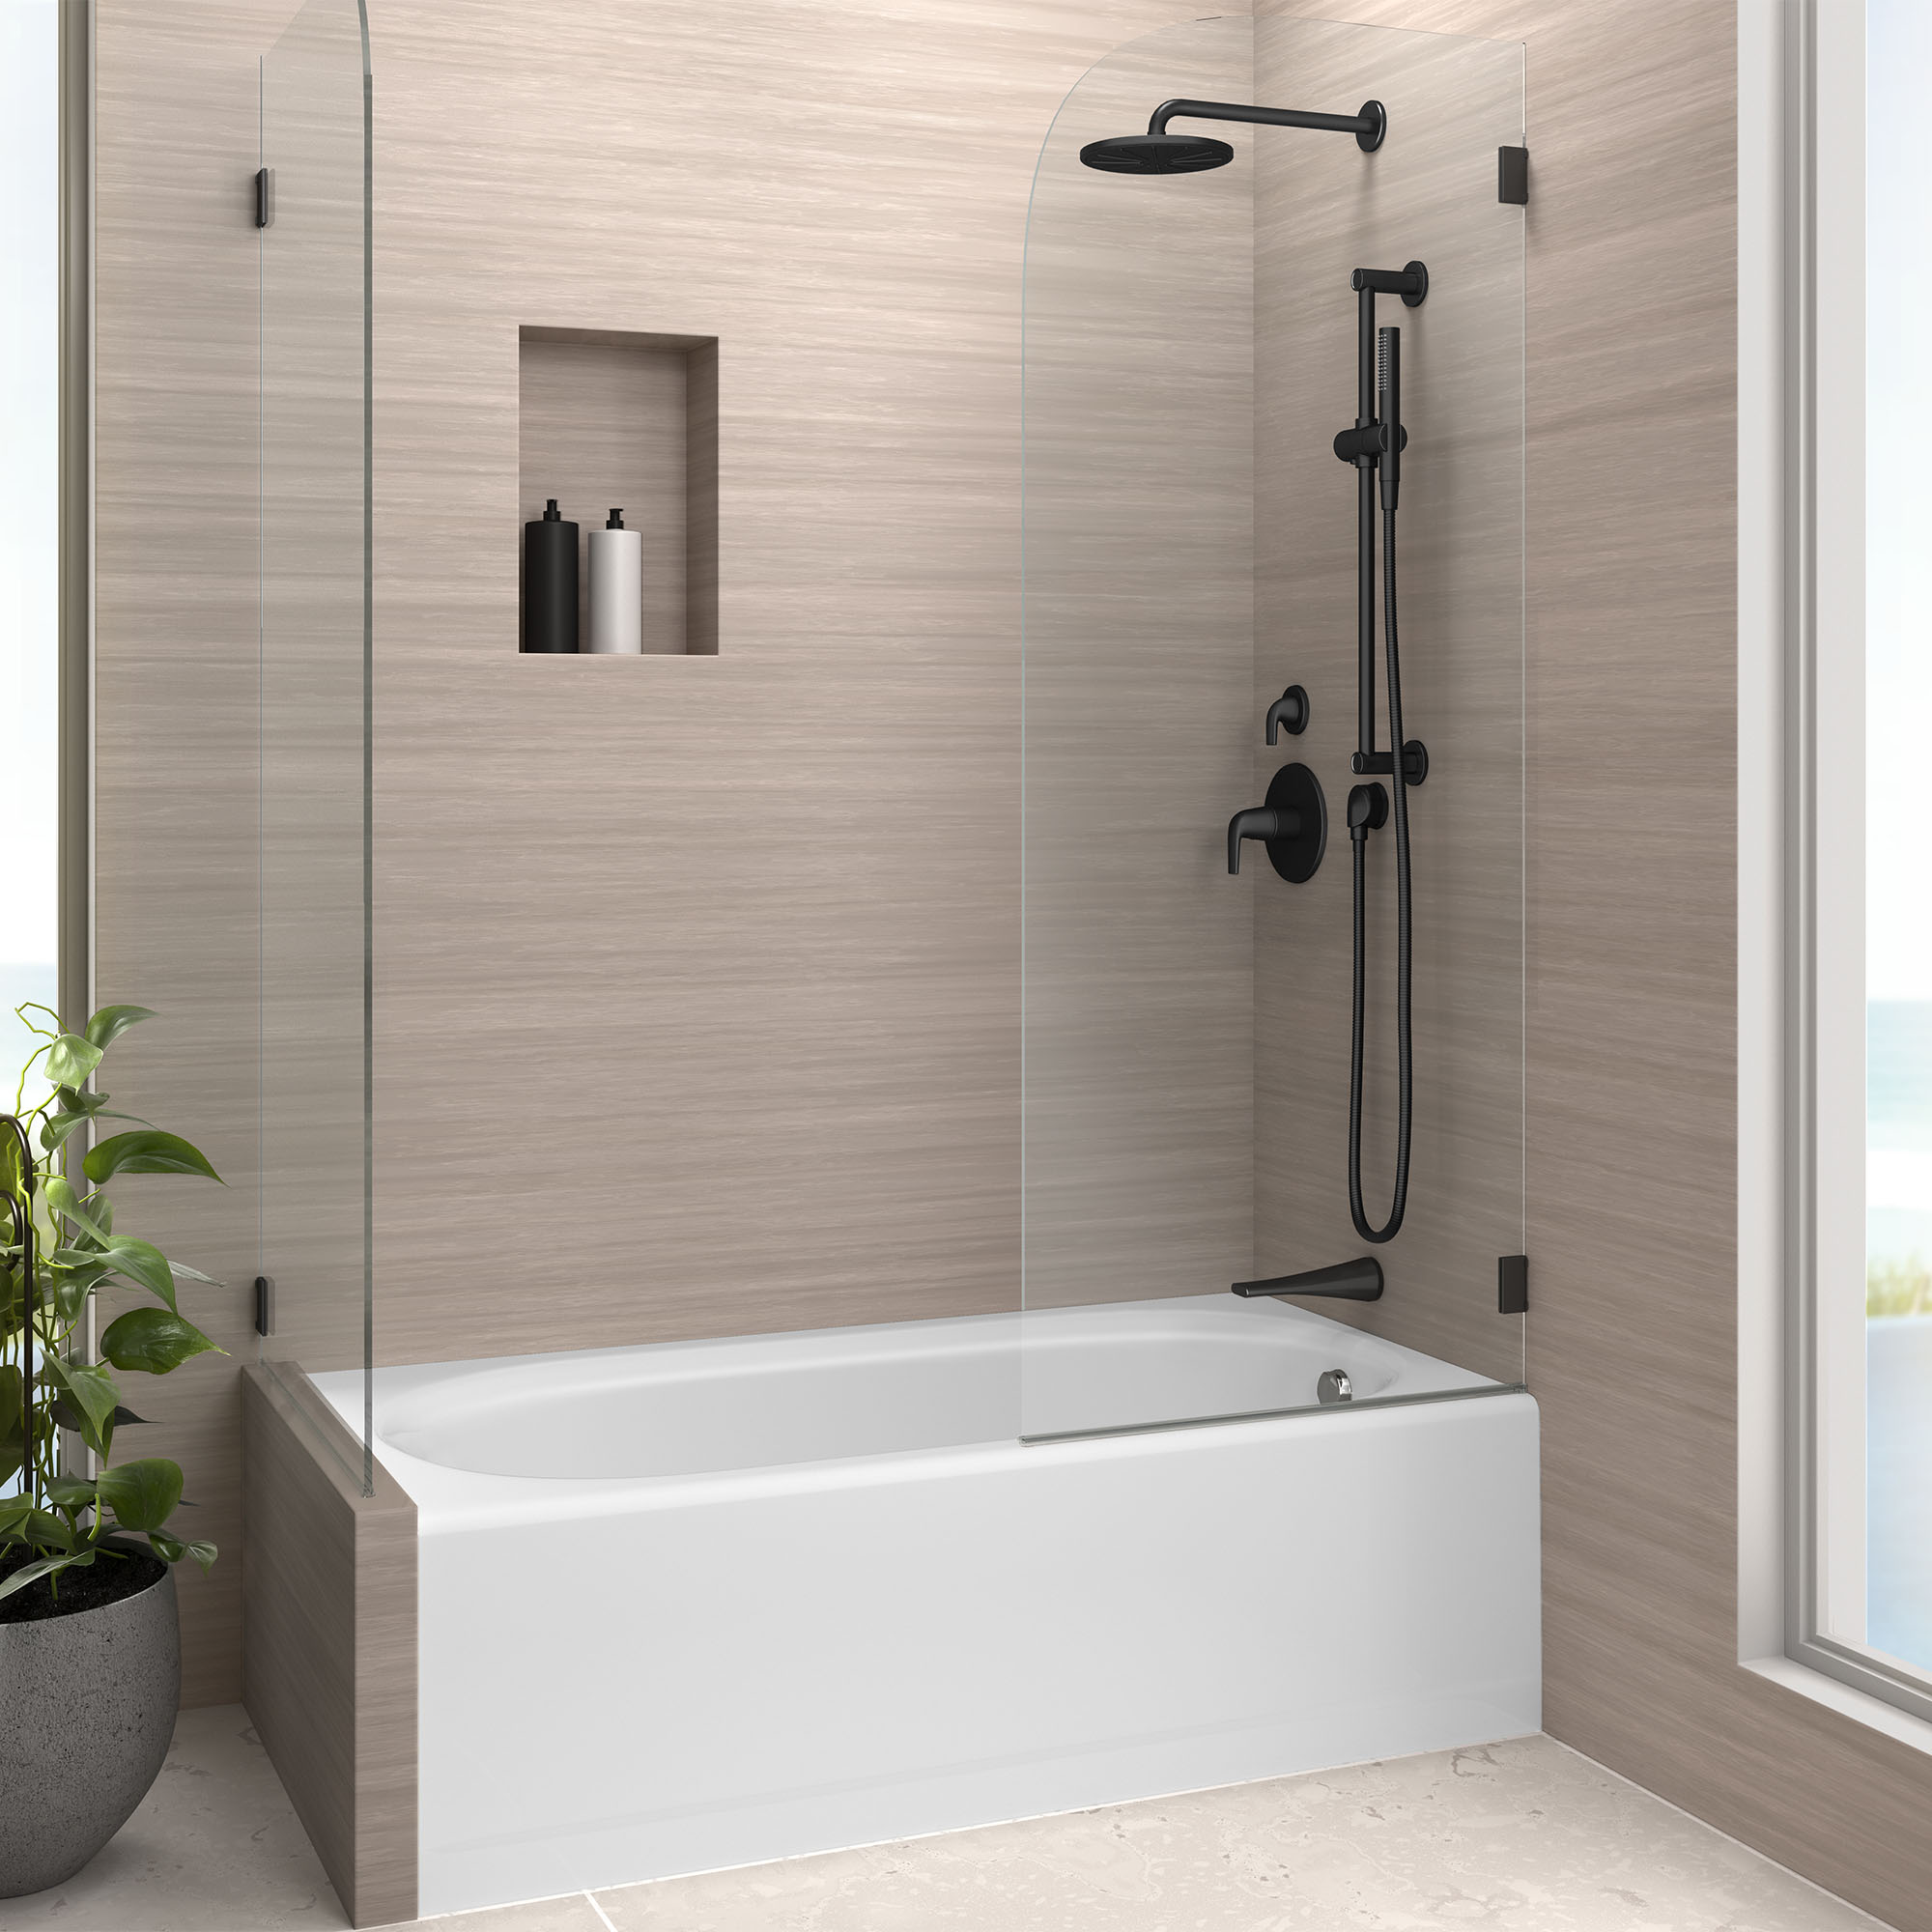
Alcove tubs are the most common and space-efficient option. They are designed to fit into a three-sided enclosure, often with a showerhead above. This type is ideal for smaller bathrooms where space is a consideration.
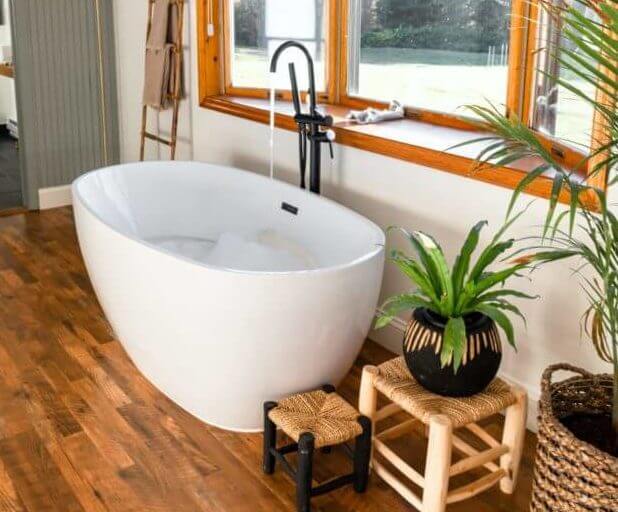
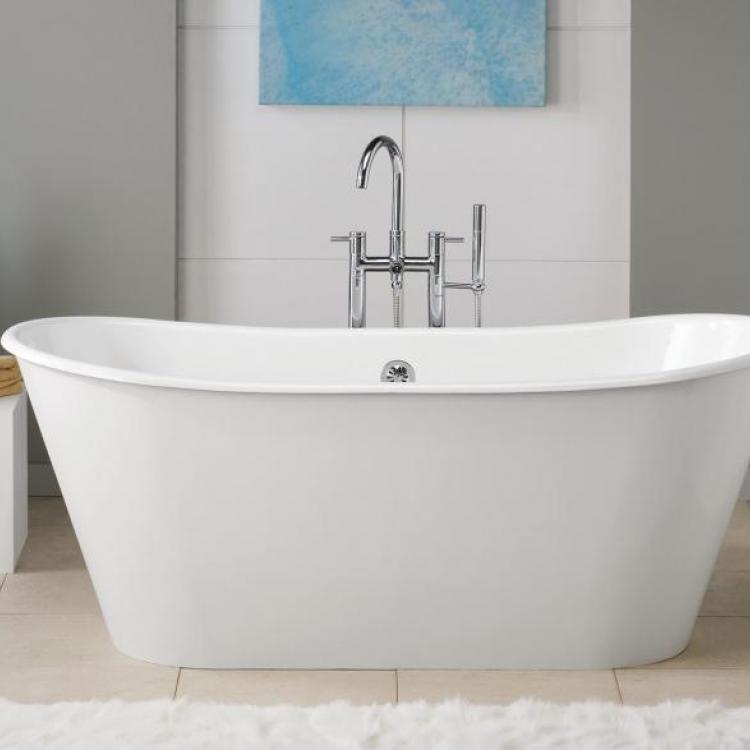
#2. Freestanding Tubs
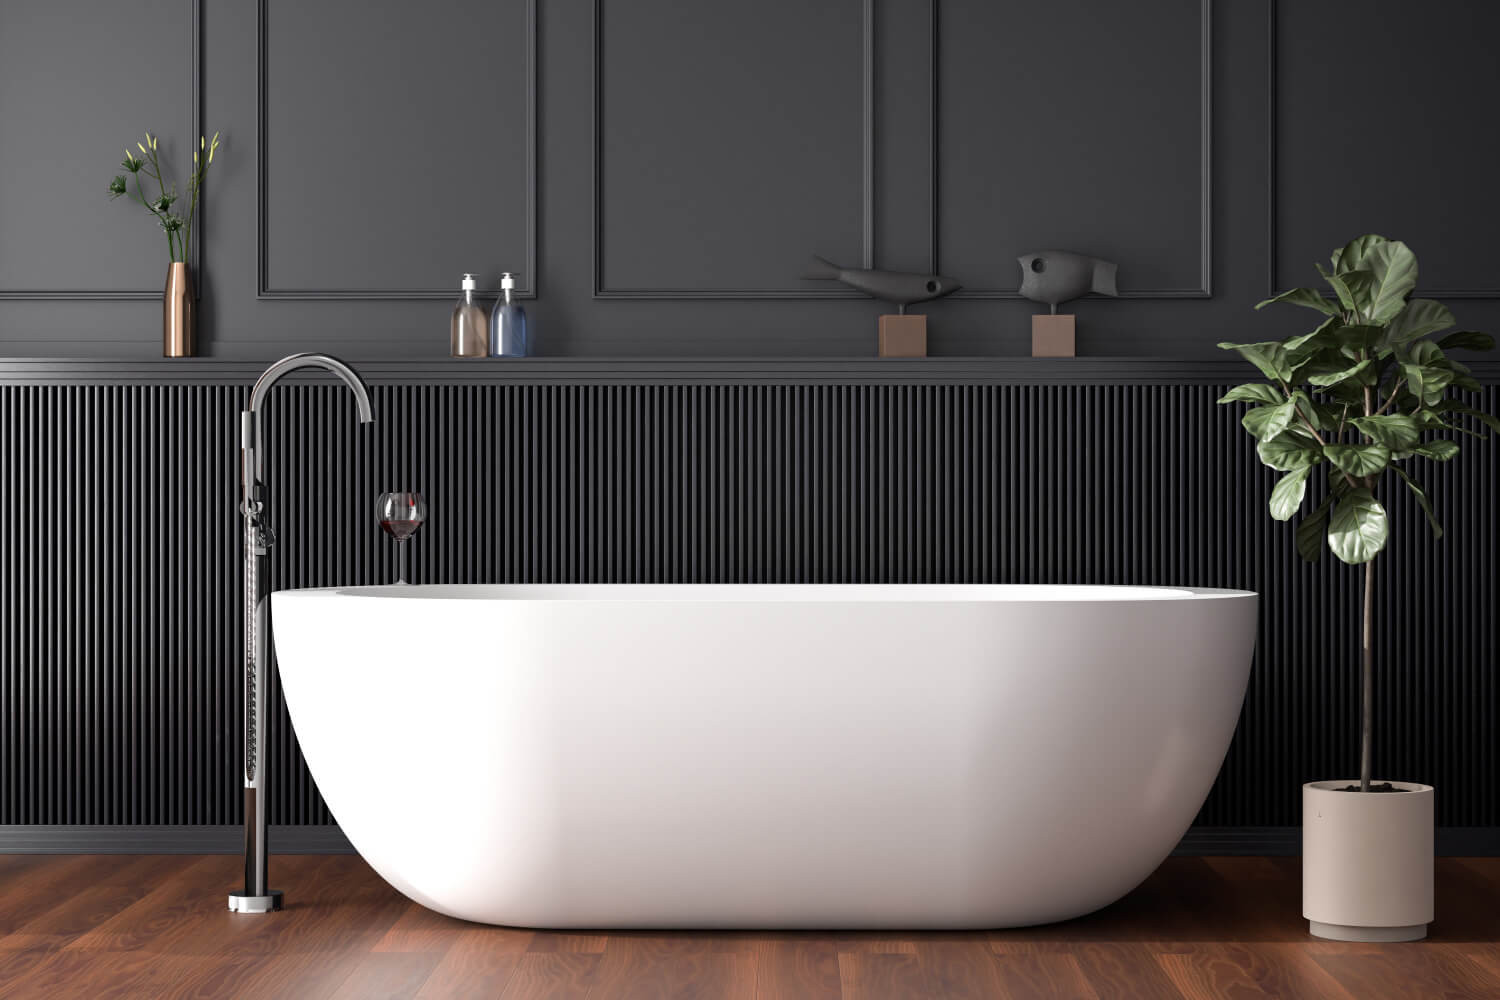
Freestanding tubs are a luxurious choice that adds a touch of elegance to any bathroom. These tubs are not attached to any walls and are often the centerpiece of a bathroom, allowing for more creative placement within the space.
#3. Corner Tubs
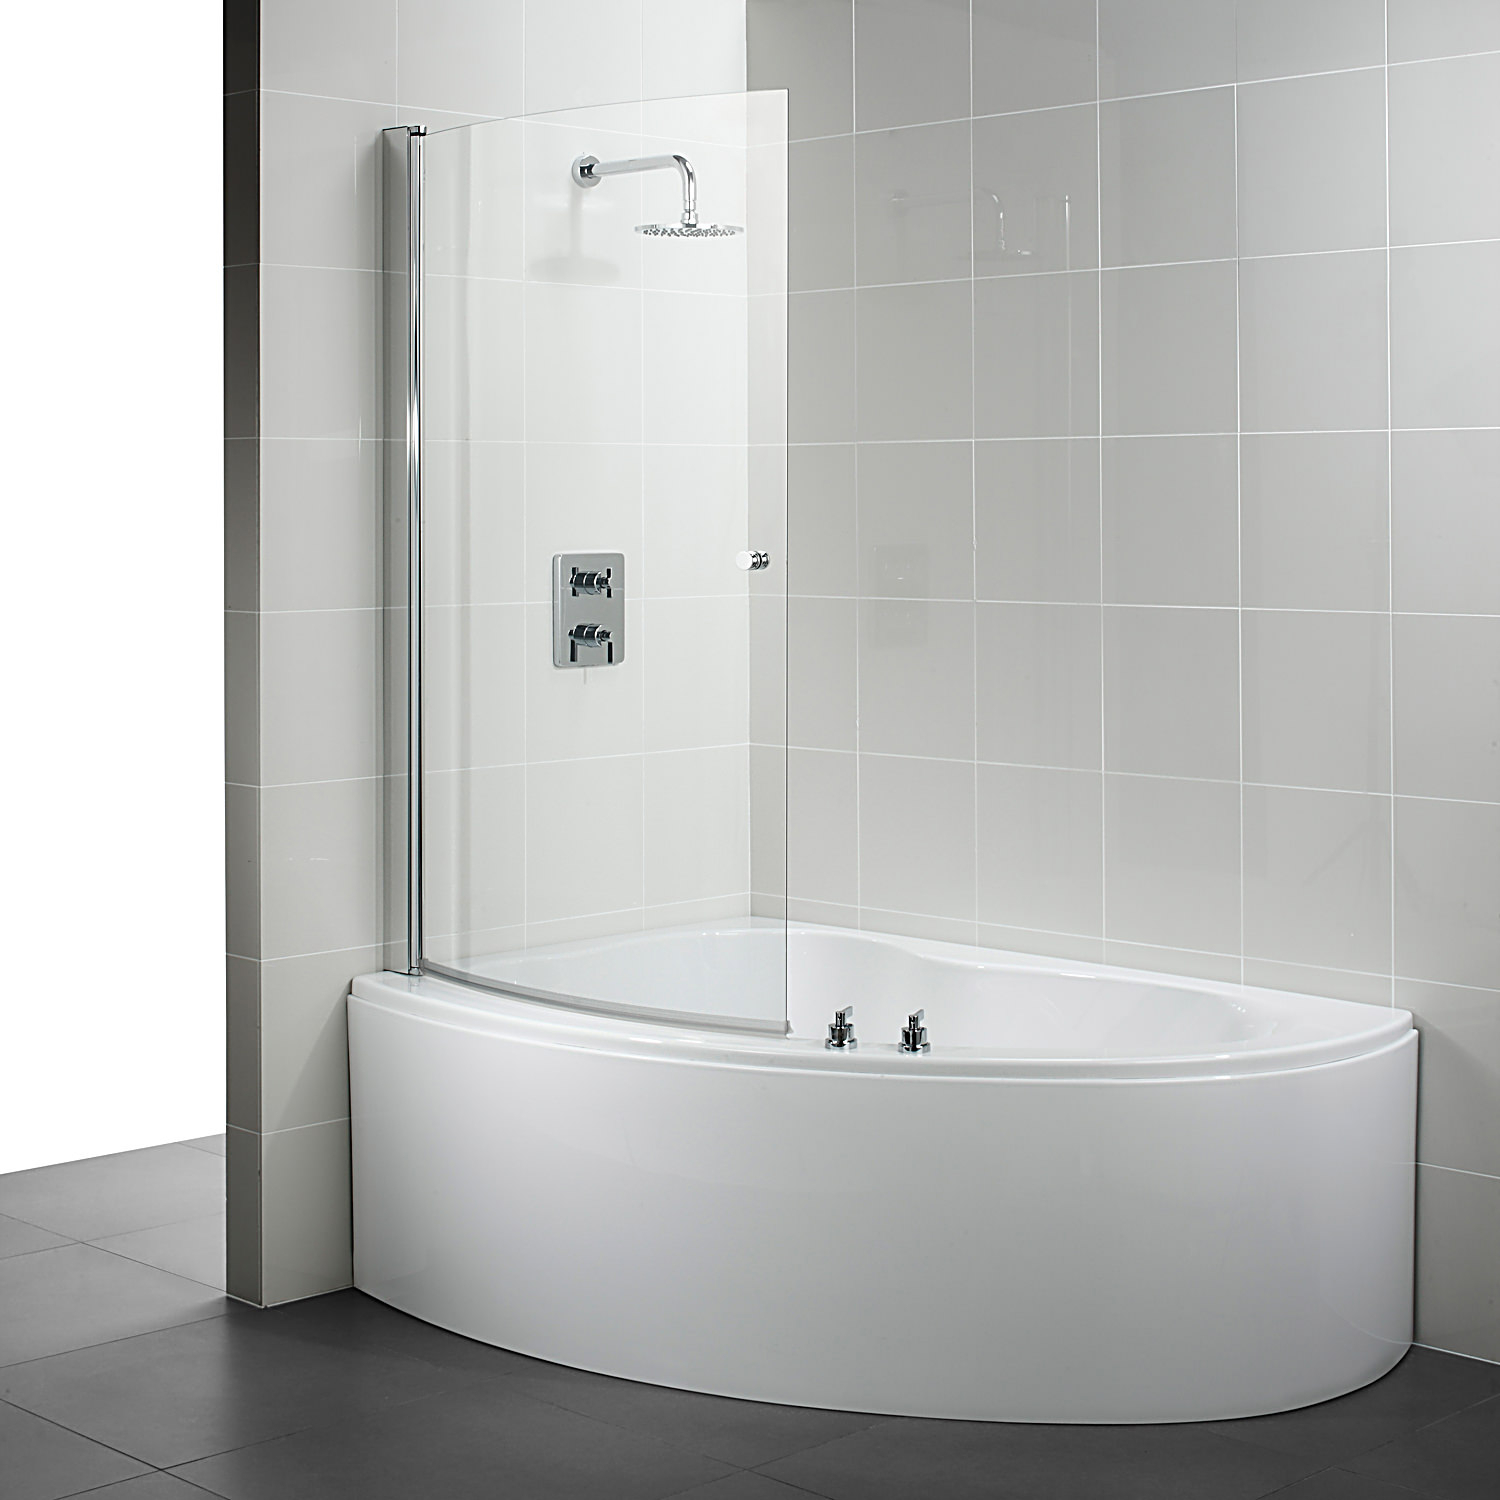
Corner tubs are designed to fit snugly into the corner of a bathroom. They are a great space-saving option and come in various shapes, including triangular and curved, providing a stylish and practical solution for smaller bathrooms.
#4. Clawfoot Tubs
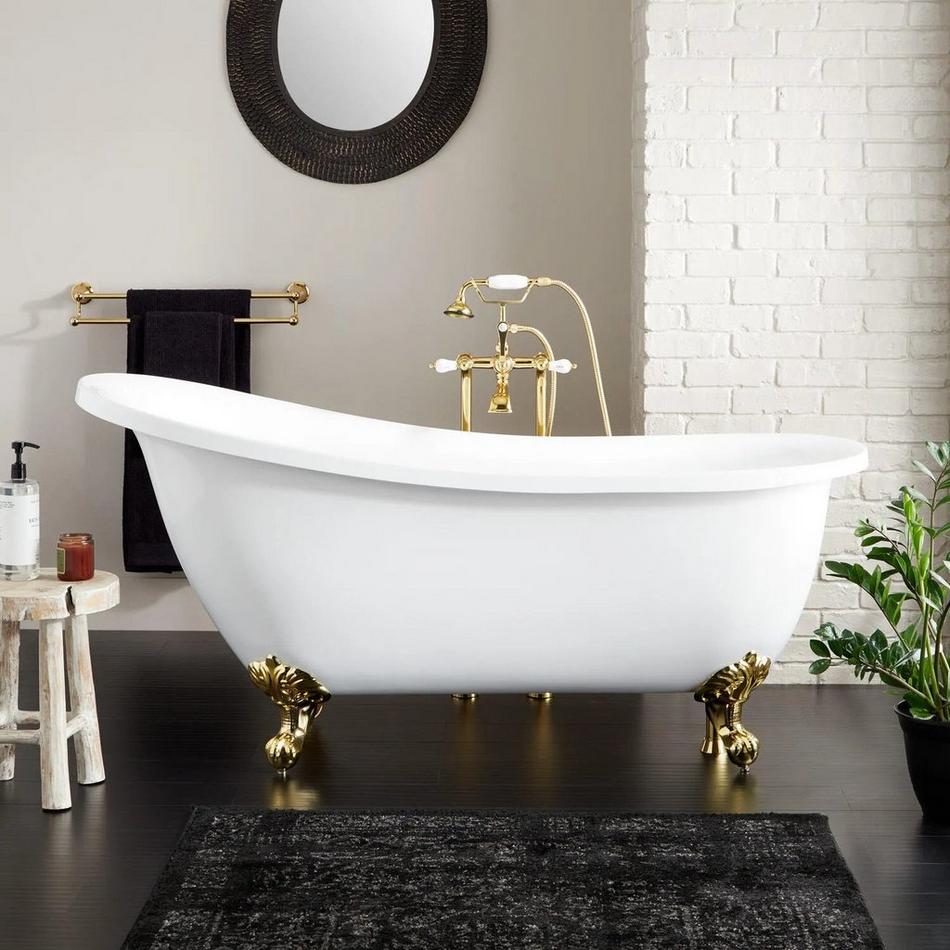
Clawfoot tubs are classic and timeless, featuring feet that resemble claws. These tubs often have a vintage aesthetic and are a popular choice for those looking to add a touch of nostalgia to their bathroom.
See also: How to Remove Towel Bar With No Visible Screws
#5. Whirlpool Tubs

Whirlpool or jetted tubs offer a spa-like experience with built-in jets that provide a soothing massage. These tubs are perfect for those seeking relaxation and therapeutic benefits during their bath.
#6. Soaking Tubs
Soaking tubs are designed for deep immersion, allowing you to fully submerge and enjoy a long, relaxing soak. These tubs come in various shapes and sizes, catering to different bathroom layouts.
#7. Walk-In Tubs
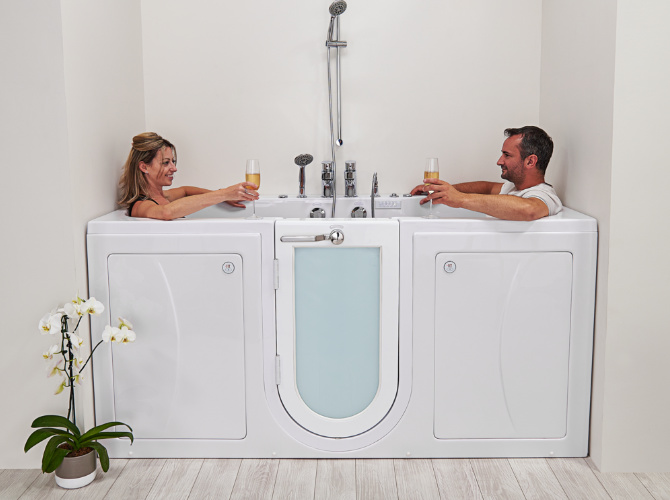
Walk-in tubs are designed with accessibility in mind, featuring a door for easy entry and exit. These tubs are an excellent choice for individuals with mobility challenges or those looking for a safer bathing option.
#8. Acrylic Tubs

Acrylic tubs are lightweight, durable, and come in various shapes. They are easy to clean and maintain, making them a popular choice for modern bathrooms.
See also: How to Remove Slime From Clothing
#9. Cast Iron Tubs
Cast iron tubs are known for their durability and excellent heat retention. While they are heavier than acrylic tubs, they offer a classic and luxurious feel to the bathroom.
How Long Does it Take to Resurface a Bathtub?
The duration of the bathtub resurfacing process depends on various factors, including the extent of damage, the type of resurfacing method used, and the specific products involved.
However, the entire bathtub resurfacing process typically takes a weekend, with the majority of the time dedicated to drying and curing periods.
See also: 10 Ways to Use Baking Soda for Cleaning Your Bathroom
What are the Steps to Resurface a Bathtub?
Resurfacing a bathtub is a step-by-step process that requires careful attention to detail. Here’s a concise guide to help you navigate through the essential steps:
Preparation
Ensure the bathtub is clean and free from soap scum or residue. Use a mild abrasive cleaner and a sponge or scrub brush to clean the surface thoroughly.
Sanding
Gently sand the entire surface of the bathtub using sandpaper. Start with a coarse grit and gradually move to finer grits for a smooth surface.
Repair Chips and Cracks
Use a bathtub repair kit to fill any chips or cracks. Follow the kit instructions carefully and allow for proper drying time.
Apply Bonding Agent
Apply a bonding agent to ensure a secure bond between the existing surface and the resurfacing material.
Use the Resurfacing Kit
Follow the instructions provided with the resurfacing kit to apply the epoxy-based coating. Work in small sections to avoid uneven drying.
Allow Sufficient Drying Time
Let the resurfacing material dry completely. This typically takes 24-48 hours, but refer to the specific product instructions for accurate drying times.
Optional Sanding (After Drying)
If desired, lightly sand the bathtub again for an ultra-smooth finish. Be cautious not to damage the newly applied coating.
Apply the Topcoat
Finish the resurfacing process by applying a topcoat. This protective layer enhances durability and appearance.
Remove Painter’s Tape
Carefully remove any painter’s tape used to protect surrounding areas after the topcoat has dried.
Curing Time
Allow the bathtub to cure fully before using it. Follow the product instructions for specific curing times to ensure the best results.
See also: How Does Tankless Toilets Work
How Long Does a Resurfaced Bathtub Last?
The longevity of a resurfaced bathtub depends on various factors, including the quality of the materials used, the expertise in application, and the level of care and maintenance. When the resurfacing process is done correctly, a resurfaced bathtub can last for an impressive 10 to 15 years or even more.
The key to extending the lifespan of a resurfaced bathtub lies in proper care. Avoid using abrasive cleaners that could damage the newly applied surface. Instead, opt for mild, non-abrasive cleaners to preserve the finish. Additionally, refrain from using sharp or heavy objects that may cause scratches or chips.
Regular maintenance, such as wiping down the bathtub after each use and addressing any issues promptly, contributes to the longevity of the resurfaced finish. It’s important to follow the manufacturer’s recommendations for care and maintenance to ensure the bathtub remains in optimal condition for an extended period.
See also: How to Unclog a Toilet Without a Plunger
What are the Best Products and Tools to Resurface a Bathtub?
Selecting the right products and tools is crucial for achieving a successful bathtub resurfacing project. Here’s a list of the best products and tools recommended for the job:
- Resurfacing Kit
Choose a high-quality epoxy-based bathtub refinishing kit. These kits typically include the necessary coatings, bonding agents, and instructions for a seamless application.
- Bonding Agent
An effective bonding agent is essential to ensure a strong adhesion between the existing surface and the resurfacing material. Check that the bonding agent is compatible with the chosen resurfacing kit.
- Sandpaper (Various Grits)
Invest in sandpaper with various grits to prepare the bathtub surface adequately. Coarse grits help with initial sanding, while finer grits contribute to a smooth finish.
- Safety Gear
Prioritize safety by wearing a dust mask, safety glasses, and gloves. These items protect against the dust generated during sanding and the chemicals present in resurfacing products.
- Cleaning Supplies
Use mild abrasive cleaners and trisodium phosphate (TSP) cleaner to thoroughly clean the bathtub before starting the resurfacing process. A sponge or scrub brush is essential for effective cleaning.
- Painter’s Tape
Protect surrounding areas with painter’s tape to prevent accidental damage during the application of resurfacing materials.
- Ventilation
Ensure proper ventilation in the bathroom by using fans or keeping windows open. This minimizes exposure to fumes from resurfacing products.
- Topcoat
The topcoat is the final layer that adds durability and protection to the resurfaced bathtub. Choose a topcoat recommended by the resurfacing kit manufacturer for optimal results.
Having the right products and tools on hand ensures a smoother and more efficient resurfacing process. Always follow the instructions provided with the selected products for the best outcome.
See also: Ultimate Guide to Low-flow Toilets
How Much Does it Cost to Resurface a Bathtub?
The cost of resurfacing a bathtub is generally more budget-friendly compared to the expense of replacing the entire fixture. The total cost varies based on factors such as the size of the bathtub, the extent of damage, and whether the project is approached as a do-it-yourself task or completed by a professional service.
- DIY Resurfacing Kits
DIY resurfacing kits are cost-effective options for minor repairs and improvements. These kits typically range from $50 to $200, depending on the brand and included materials. Keep in mind that additional costs for safety gear, cleaning supplies, and ventilation may apply.
- Professional Services
Hiring a professional to resurface your bathtub comes with added costs, but it ensures a high-quality and professionally executed result. Professional bathtub resurfacing services typically range from $300 to $600 or more, depending on the geographic location and the condition of the bathtub.
- Additional Costs
It’s essential to consider additional costs such as repairs for significant damage, the optional use of a primer or bonding agent, and any specialized tools that may be required. These costs can add up, so it’s wise to factor them into the overall budget.
While the initial cost of resurfacing may seem higher than a DIY kit, professional services often provide a more durable and aesthetically pleasing finish. The investment in professional resurfacing can pay off in the long run, considering the extended lifespan of the resurfaced bathtub.
See also: How to Clean Bathtub Jets
What are the Pros and Cons of Resurfacing a Bathtub?
Resurfacing a bathtub presents a range of advantages, chief among them being cost-effectiveness. Replacing an entire bathtub can be a substantial financial undertaking, while resurfacing offers a more budget-friendly alternative. Additionally, the process is time-efficient, often completed within a weekend, causing minimal disruption to daily routines.
Moreover, resurfacing aligns with eco-friendly principles by curbing the environmental impact associated with manufacturing and disposing of new bathtubs. This makes it a responsible choice for homeowners seeking sustainable solutions.
However, resurfacing is not without its drawbacks. While it can address surface imperfections such as stains and chips, it is not a permanent solution. The longevity of the resurfaced finish depends on factors such as the quality of materials used and the level of care. Furthermore, resurfacing may not be suitable for severely damaged or rusted bathtubs, where replacement becomes a more viable option.
Skill is also a determining factor in the success of a resurfacing project. DIY attempts may result in uneven coatings or imperfections, emphasizing the importance of precision and attention to detail.
See also: 5 Safety Tips for Cleaning Glass Without Streaks
What Cleaning Products Should I Use on a Resurfaced Bathtub?
Maintaining the pristine appearance of a resurfaced bathtub necessitates careful consideration of cleaning products. Opting for mild, non-abrasive cleaners labeled as safe for resurfaced or refinished bathtubs is crucial. White vinegar and baking soda, known for their gentle yet effective cleaning properties, are recommended natural alternatives.
Microfiber cloths or soft sponges should be used to wipe down the bathtub, steering clear of abrasive scouring pads or brushes that may scratch the resurfaced surface. Homeowners are advised to avoid harsh chemicals, bleach, or abrasive scouring powders, as they can damage the resurfaced finish over time.
Establishing a regular cleaning routine, including wiping down the bathtub after each use and performing a weekly deeper clean, helps prevent the buildup of soap scum and grime. Referring to the manufacturer’s recommendations for cleaning and maintenance ensures the longevity of the resurfaced finish, as different products may have specific care instructions.
See also: Cleaning Vinegar vs. White Vinegar: Uses Around the House
How to Avoid Common Mistakes When Resurfacing a Bathtub?
Avoiding common mistakes during the resurfacing process is essential for a successful outcome. A thorough cleaning of the bathtub before commencing the project is the first crucial step. Neglecting this can compromise the adhesion of the resurfacing material.
Proper sanding is equally vital. Inadequate sanding can lead to an uneven surface, affecting the material’s ability to adhere properly. Following the recommended grit sequence and taking the time to sand every part of the bathtub contributes to a smoother finish.
Addressing repairs before resurfacing is often overlooked. Chips, cracks, or other imperfections must be handled with a high-quality repair kit, following instructions meticulously to ensure a seamless finish.
Even the application of the resurfacing material is paramount. Working in small sections and following the kit’s instructions guarantees an even coating, preventing unattractive and less durable finishes.
Adequate drying time is often underestimated. Rushing the drying process can lead to premature use of the bathtub, risking damage to the newly applied coating. Following recommended drying and curing times is essential.
See also: How Does Dry Cleaning Work?
FAQs
Spray-on epoxy resin is a popular choice of material when it comes to bathtub reglazing. This method involves applying several layers of high-quality epoxy to protect and restore the surface of the bathtub.
For best results, spray the surface with a liquid cleaner and let it sit for 3-5 minutes before cleaning with a damp cloth or non-abrasive sponge. You can extend the life of your new finish with the application of a polymer polish every six months.
Conclusion
Resurfacing a bathtub is a practical and economical way to breathe new life into your bathroom. With the right tools, materials, and a bit of patience, you can transform your worn-out bathtub into a sleek and refreshed focal point.
Whether you choose to tackle this project as a DIY enthusiast or opt for professional assistance, the key is to follow each step carefully for a durable and aesthetically pleasing result.
Remember, a beautifully resurfaced bathtub not only enhances the visual appeal of your bathroom but also contributes to the overall value of your home.
References
- Housebeautiful.com – Everything You Need to Know About Bathtub Reglazing
- Thespruce.com – How to Refinish a Bathtub With a DIY Kit: 11 Easy Steps
- Bobvila.com – How to Refinish a Bathtub